Tulle & the Dragon is an online group and boutique dedicated to creating costumes, special occasion outfits and other creative activities that express the imagination and creativity of girls and women of all ages.
As the parent of a 4 year old sometimes having an art cart makes more sense than having a bar cart. Recently, while trying to organize our art supplies while trying to leave some things out for my daughter to work on her fine motor skills I came to this realization. It’s not that I don’t mind a drink now and then. I get as salty as the next mom. Side note if you like down to earth mom’s with a sense of humor that enjoy a margarita now and then check out thesaltymamas.com. I do but it will not be while I entertain guests at one of my glamorous dinner parties. I am far from being as glamorous as Joan Crawford or Bettie Davis in their hey days.
I needed somewhere to put art supplies that would be accessible to my daughter. It had to be an area where I am often near like the kitchen or living room. If you are the parent of an only child you know very well that they always want to be near a parent unless they have a friend over. You can put awesome stuff in their room but unless your in there with them they will just haul it into the kitchen and living room. The Bar Cart was an easy solution. We just use it to display a bunch of fancy stuff we don’t use and it is in the dining area next to a table and in between the kitchen and living room.
We have had the art cart for about a week and it has already inspired parent led as well as child led art. On the first day I put out cars with crayon glued on the bottom with paper.
My daughter quickly stated her own child led art projects like foam sticker letters on paper, painting her pony, and make a Sofia the first sculpture. I was even able to repurpose a plastic shot glass to hold water from my 40th Birthday party that was more like a small gathering.
Although my home looks less glamorous I think it is worth all of the increased creativity and fine motor use. I am thinking about adding a board game area in the living room to improve our social skills and ability to follow directions. What do you think? How do you make art accessible to your littles.
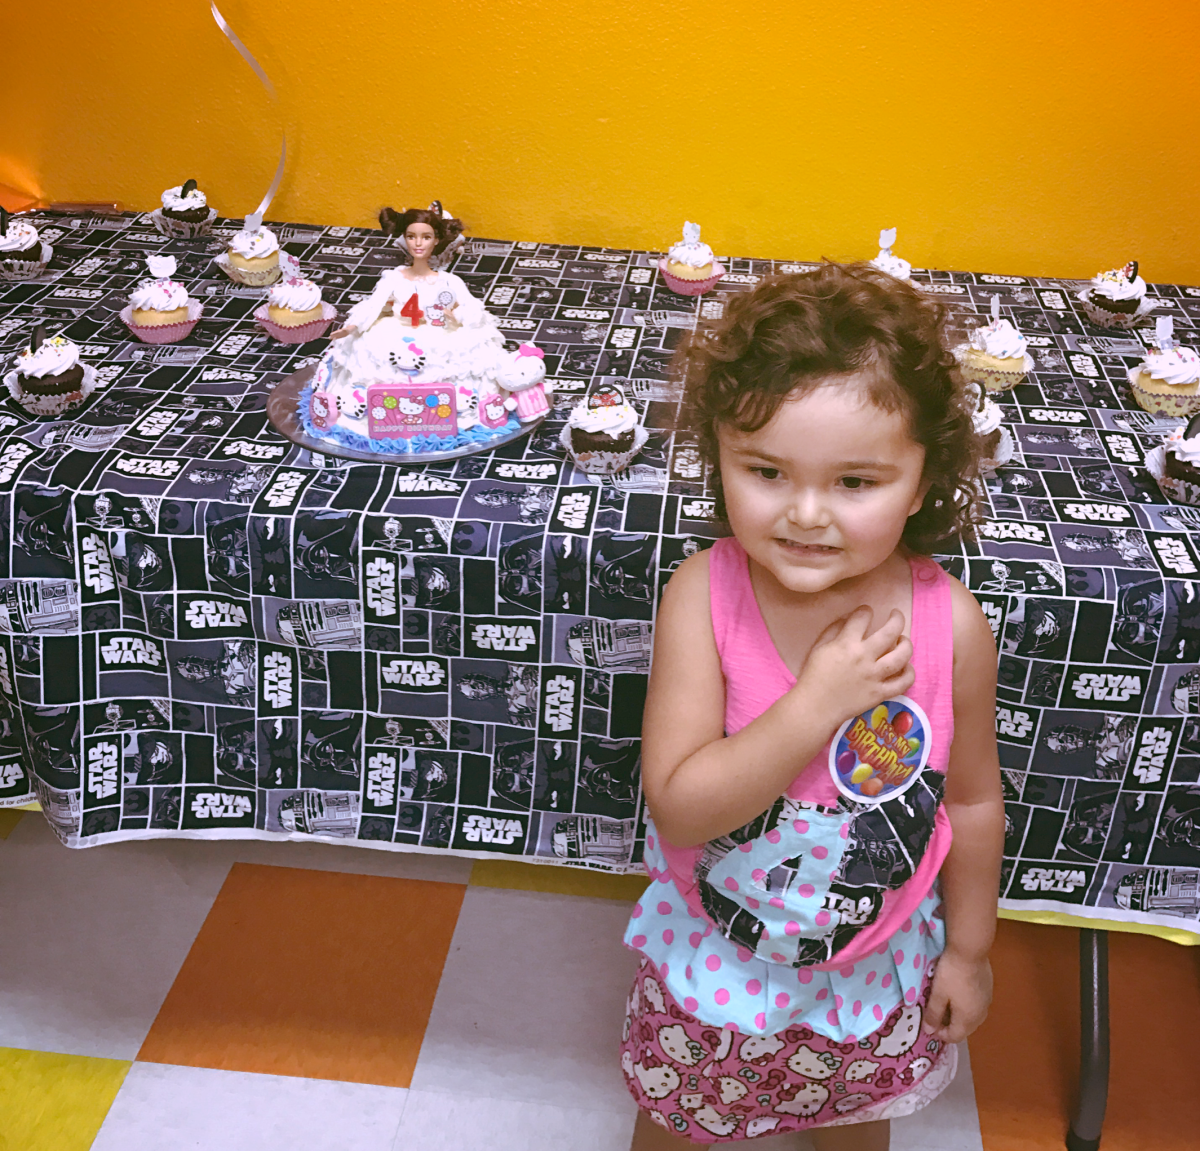
When my daughter couldn’t decide if she wanted a Hello Kitty or a Star Wars theme for her birthday we decided to have a Hello Kitty and Star Wars mashup party. After last years Ursula from the Little Mermaid party with handmade decorations and extravagant Ursula costumes we made I thought we would make it easy and have a party at Pump it Up! That way we could focus on the cake, my daughters outfit and finding nice HK and Star Wars swag for our guests.
Having a party at Pump it Up was so easy and fun. The children enjoyed jumping and the staff at Pump it Up helped with everything from taking pictures, supervising children, setting up our decorations, providing pizza and helping with opening presents (e.g., handing us the gifts and throwing all the trash away). It was so great we might do it again for her 5th birthday.
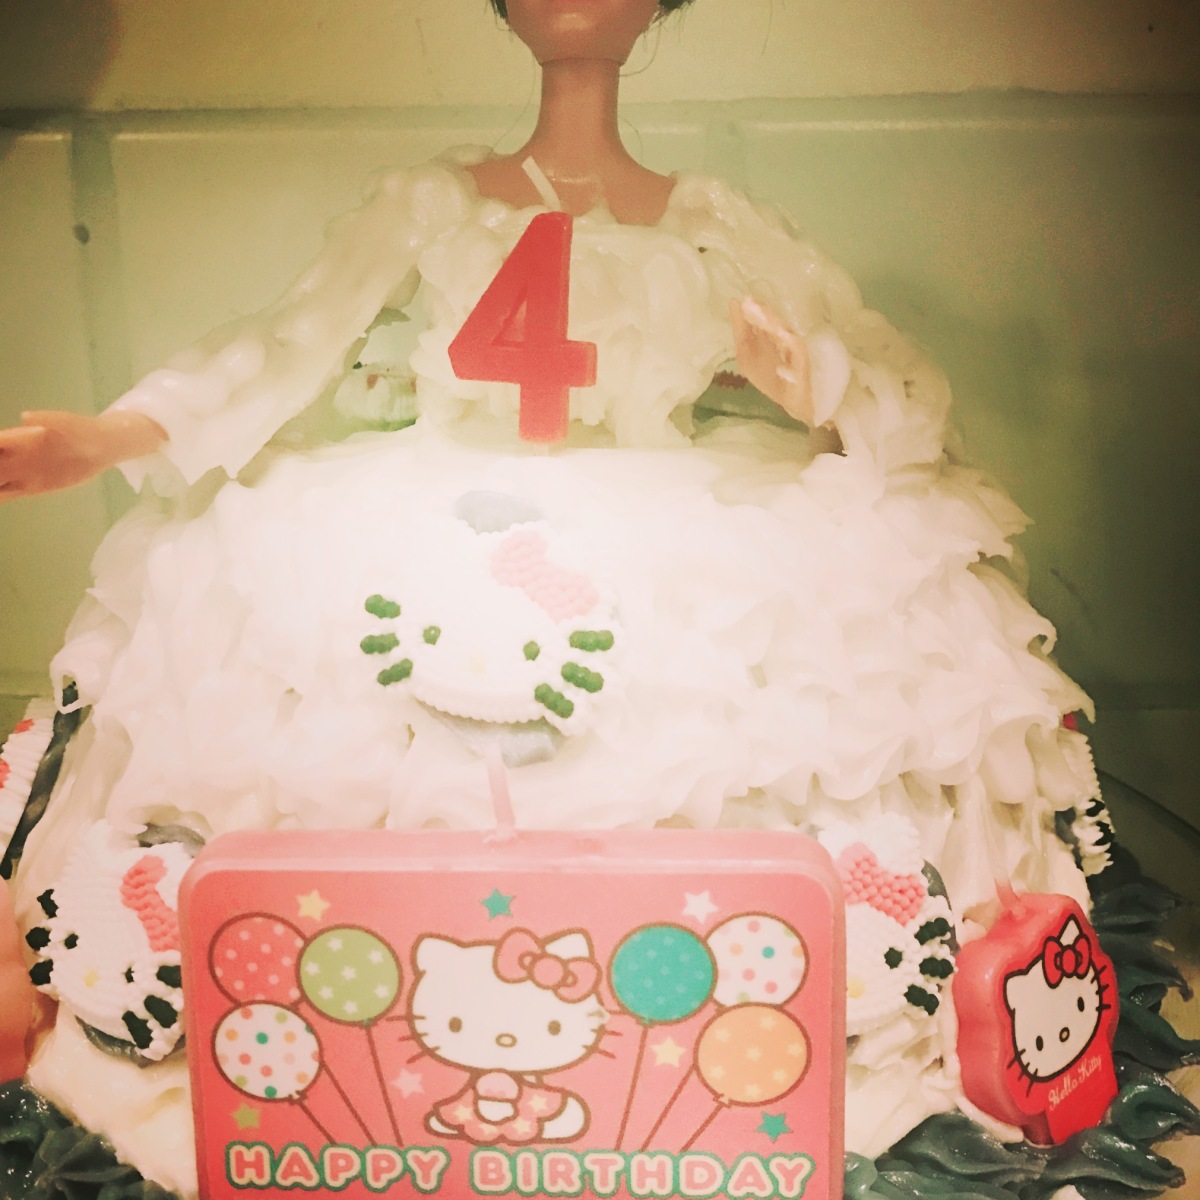
When I was little I remember having a doll cake and I liked it so much I still think about it fondly. I decided to make one for my daughter. To make the cake I used PAMPERED CHEF BATTER BOWL , a Barbie with her legs removed, frosting and HK decorations.
To make the cake batter I used the 1234 cake recipe on the back of a Swans Down Cake Flour, 32 oz. It was tasty and I received complements. It was moist, a little dense and buttery but not overly sweet. After making the batter I poured it into the batter bowl and baked it.
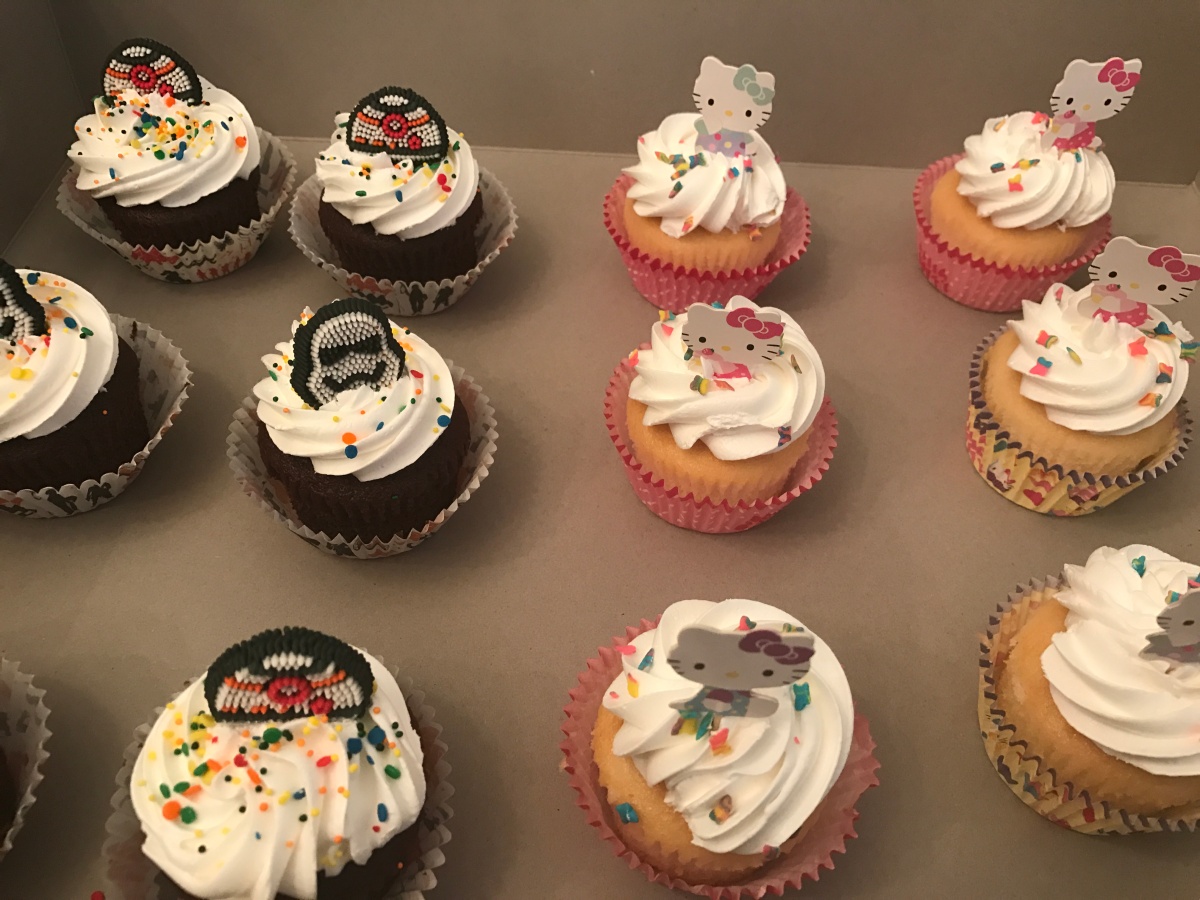
After baking and cooling the cake we flipped it upside down onto a glass plate. We then placed the Barbie with Princess Leia buns in the center of the cake. Then we frosted the cake and the top of the doll to look like a gown. Lastly we added Hello Kitty decorations. We also decorated cupcakes.
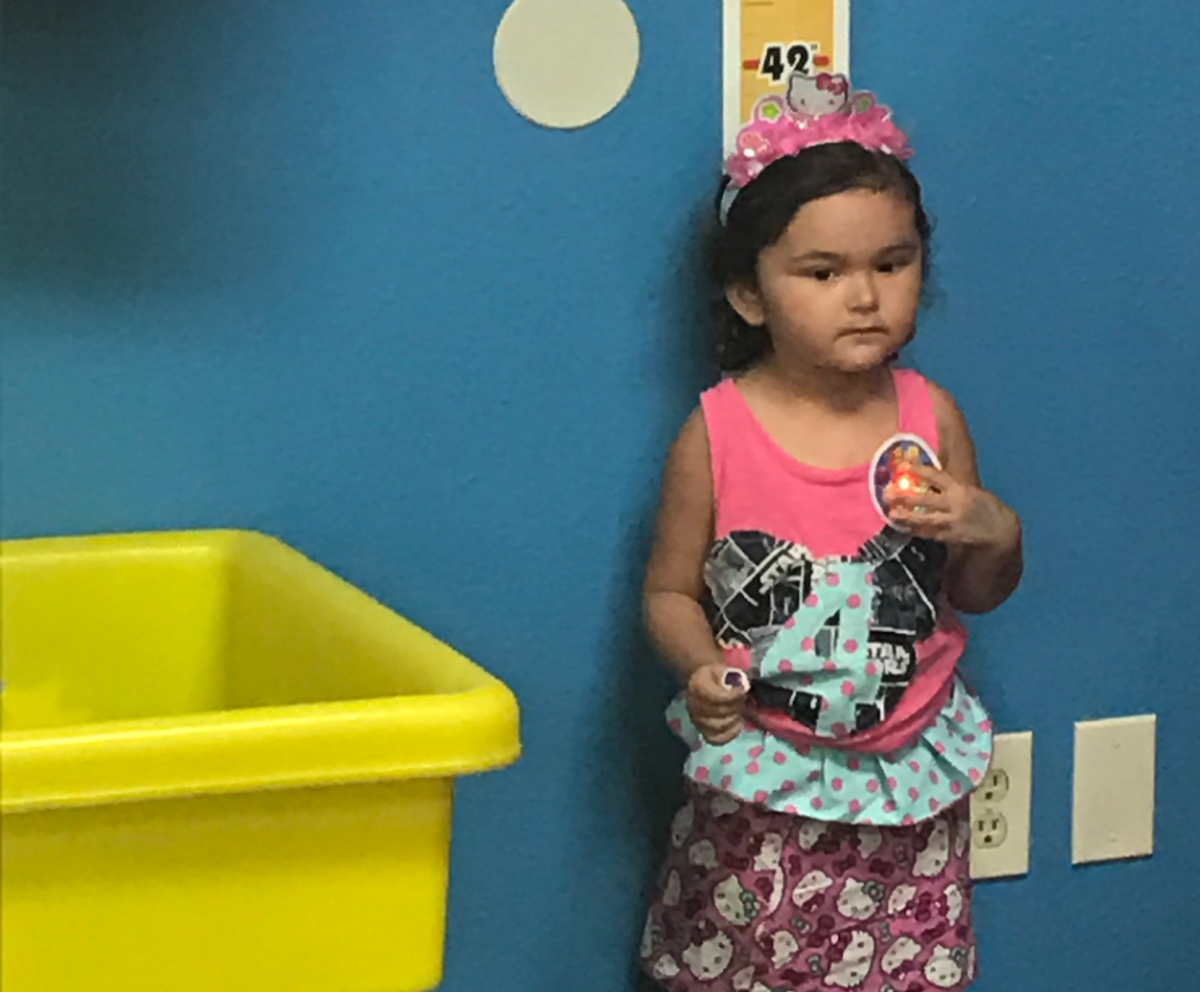
To make my daughter’s outfit I sewed Star Wars fabric in the shape of Mickey Mouse’s head with a number 4 onto a pink tank top. Then I made a Hello Kitty peplum skirt and sewed it to the top. I also made a T-shirt version for back up.
Most of our Hello Kitty and Star Wars swag came from one of our favorite stores Le Creatif Creation in Costa Mesa. When we bought our party supplies they even gave us some adorable Hello Kitty tiaras. If you love Hello Kitty and Kawaii you have to go to Le Creatif Creation.
Thanks to Pump it Up, a little DIY mom action, Le Creatif and a fun time with family and friends my daughter’s 4th birthday Hello Kitty and Star Wars mash up party was a success. What mash up themes would you like to try? You could also share your favorite birthday venue.
Father’s day is just around the corner and we thought we would share a fun Father’s day gift idea. The finished product that is both fun and easy, especially for young children, it is a colorful card and golf ball that can be given to a father, grandfather or any person that plays a fatherly role in your child’s life. If golf is not an interest of your loved one, you can use a baseball, football, basketball or you can use the paper to insert into a reusable, photo commuter mug. Be creative you can decorate anything you like.
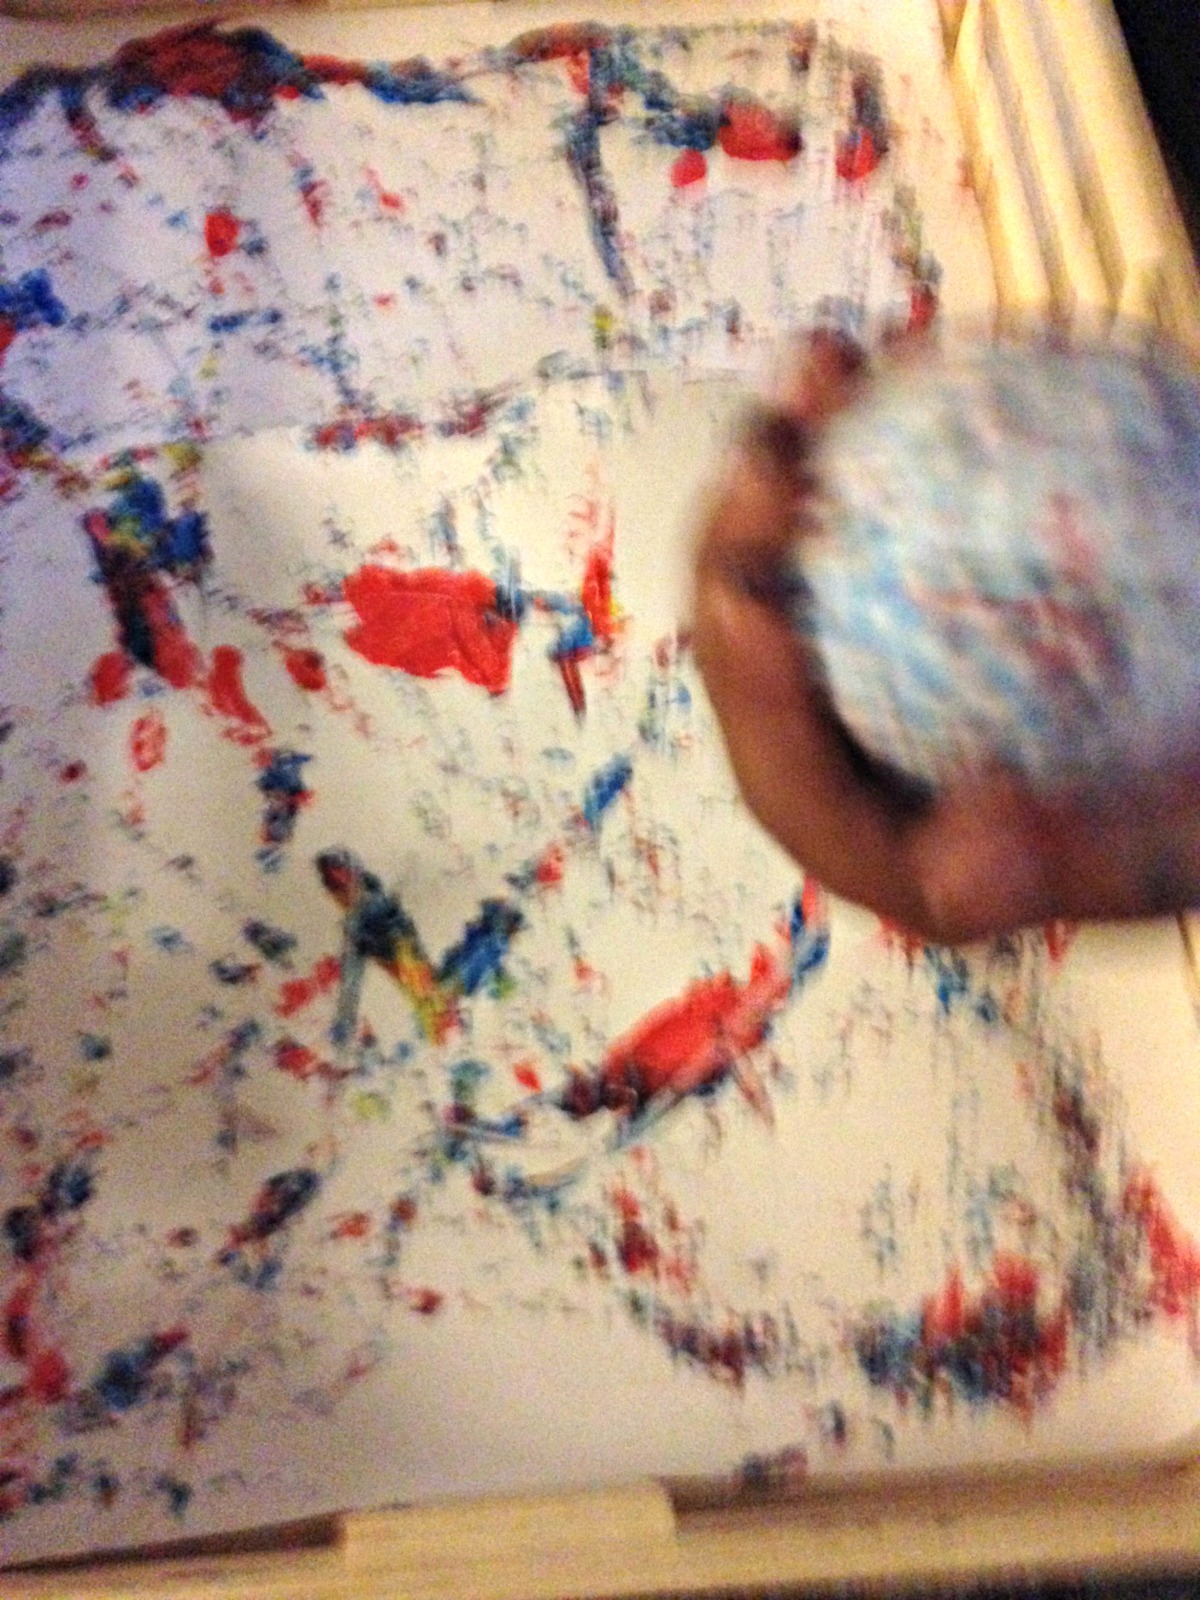
To get started you will need a box or crate to put paper in, paper, paint container (e.g., Tupperware, plate etc), golf ball and paint. First line the box with paper. Then fill a container or multiple containers with different colors of paint. We used red, yellow and blue. Next have your child drop the golf ball in the paint. Then they can move the box to roll the ball around.
They can also use their hands or use a paint brush to move the ball around. Give your little one plenty of time to experiment. This project is great because it can be more about the process of making the art than the final product. It creates an abstract design that doesn’t have to look like anything in particular. It will still look fun on a card or golf ball and your child can do most of the work.
After your child’s work of art is finished you can set aside the paper and golf ball to dry. Leave the paint on the golf ball. When it drys it will make a colorful ball decorated by their child or grandchild etc. that dad or grandpa can take to the golf course. when the paper has dried fold a piece of card stock or paper 4 ways to make a square to form the card. Draw a square or other shape on the artwork and have your little one cut it out and glue it on to the card.
Now you have a card and colorful golf ball decorated by your child to give on Father’s day. Have a wonderful Father’s day and be sure to follow our blog for more fun. Our next blog will include free events for young children in the summer.
My daughter’s favorite Disney character is Ursula from The Little Mermaid, so it was no surprise when she asked for an Ursula themed birthday party. It would have been easier to find decorations and outfits if she wanted the theme to focus on Ariel, but she had every confidence that her DIY (Do It Yourself) mom could just make her costume and decorations. In her words, “You can make it, mommy!”. I did make our outfits and some decorations and found a few treasures on Etsy as well. If you love Ursula like my daughter her are 5 tips and tricks to help you throw a villainous Ursula themed party.
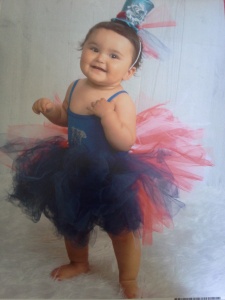
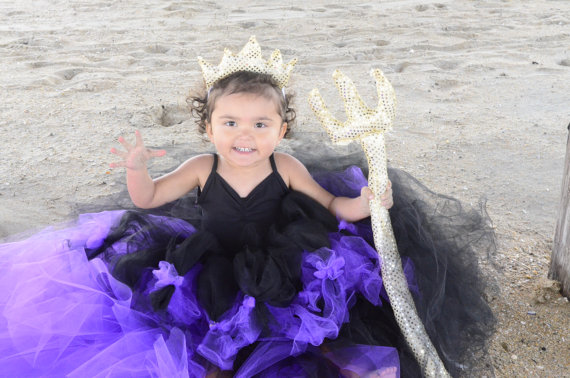
Tip #1 make sure to get a Ursula outfit. If you get it early you can take photos and use one for the invite. I made several outfits for my daughter that are available in my etsy shop tulleandthedragon. The first outfit was an extra fluffy, Ursula from the Little Mermaid inspired purple and black, high low, bustle tutu skirt with gold sequin crown and trident. It is available in size 2t to child size 12 or up to plus adult sizes by custom order. I also made an adult sized tutu for some mother and daughter photos.
The party was going to be a pool party, so I found a fun Ursula Hello Kitty patch from FabricCrafts on Etsy to put on a swimsuit for my daughter. For the party I made us both matching Ursula costumes with poly filled tentacles they are also available at tulleandthedragon.
Tip #2 use a photograph taken in your Ursula costume for your invitation. You can use it for an evite, facebook event or printed invitation. We did a facebook event and a printed invitation for family and friends not on facebook. Here is what ours looked like. I used picmonkey to edit it.
Tip #3 make or find Ursula inspired decorations. We did a combination of handmade decorations as well as a digital download from etsy. I made purple Ursula lanterns by drawing faces on purple lanterns, collaging black and white tissue paper with glue and water for Ursula’s hair and dress. Then I glued tentacles made of tulle to the bottom with a glue gun. You can make your own or buy the one that I made from my ebay shop. They are still in great condition and because they are used are being sold for less than they cost to make.
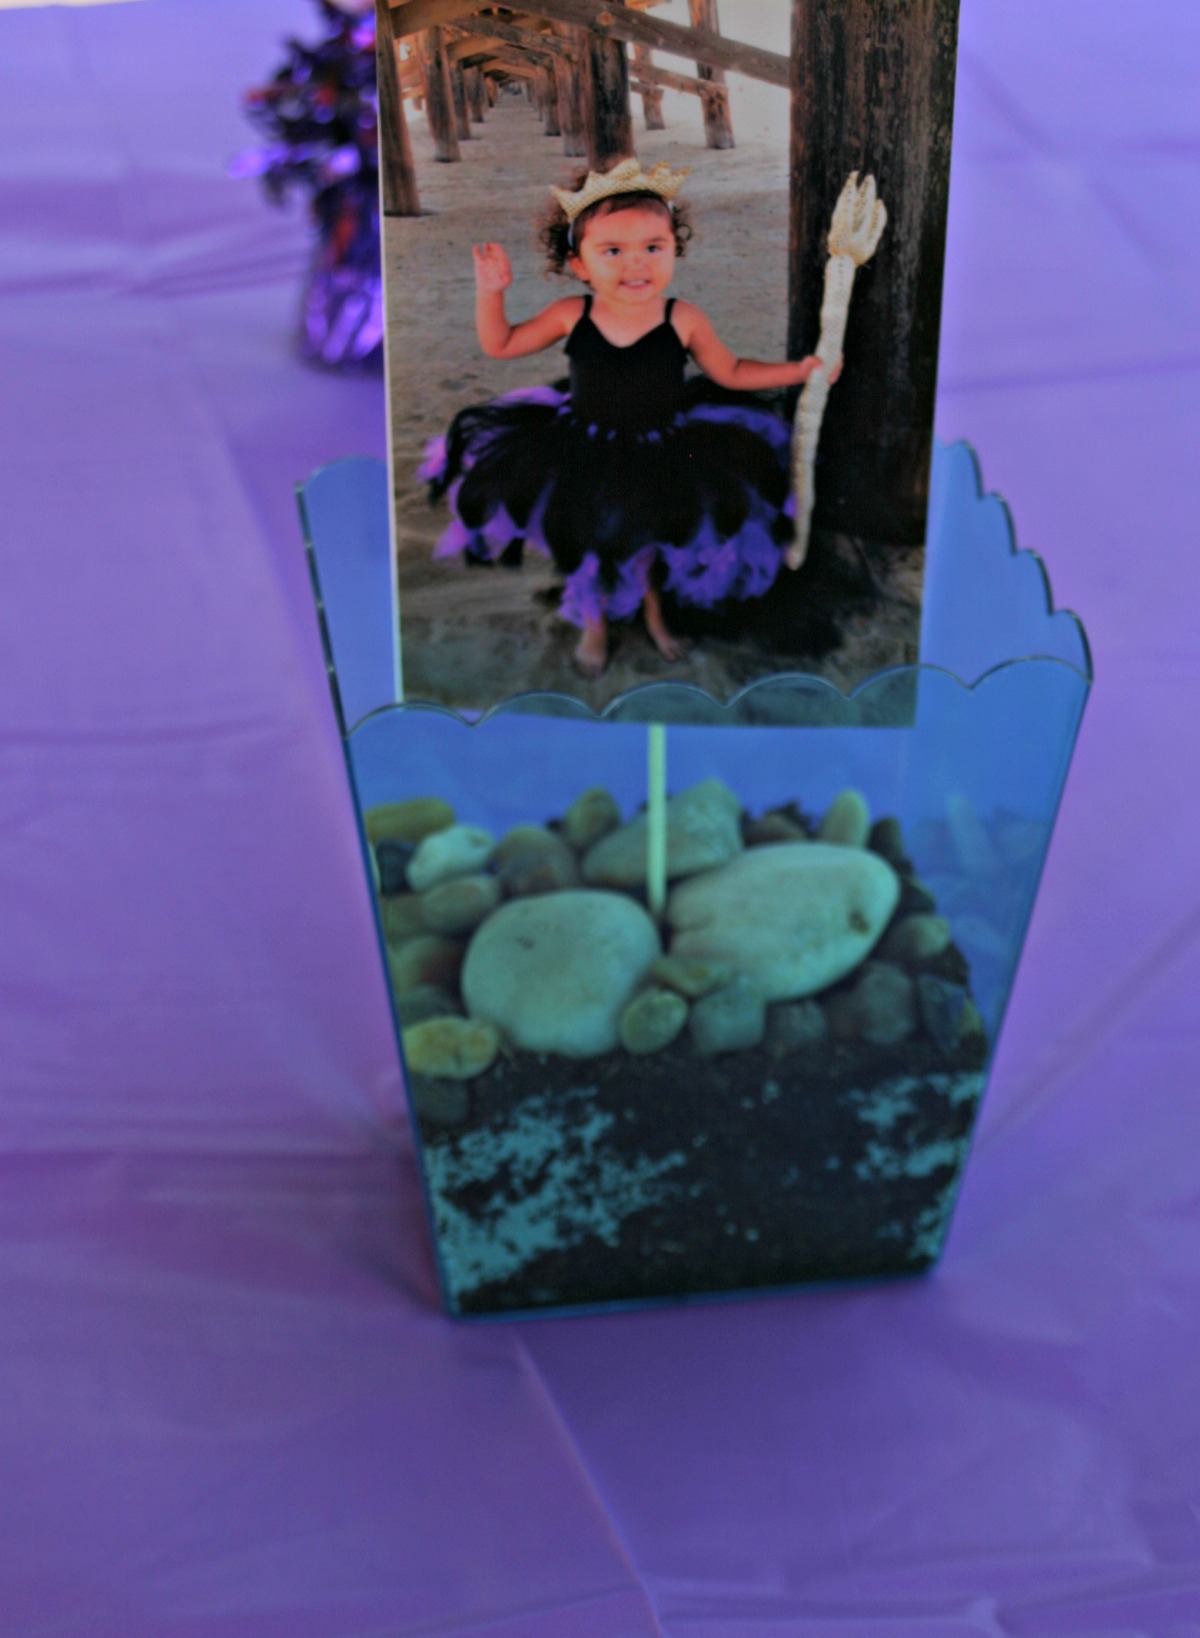
My sister in law made some really cute center pieces with photographs, sticks, rocks, soil and blue containers. She rocks not only did she make awesome center pieces she let us have the party at her house with the pool. She also threw an amazing Mario Brothers party for her 13 year old daughter. We are blessed with a great family.
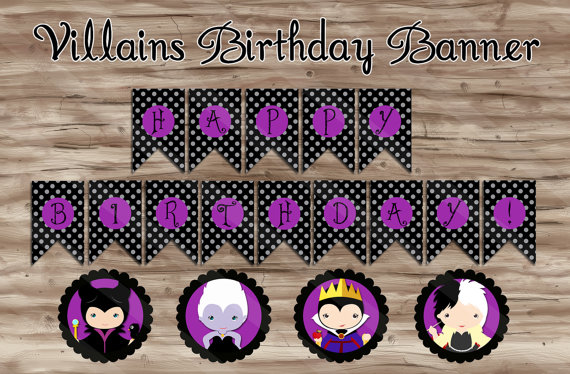
On Etsy I found a villains birthday banner from Kawaiikidesigns that was purple and black, that included Ursula. I bought it for $2.50 and printed the banner and extra of the Ursula picture, leaving out the other villains. I even used one of the print outs to decorate the Ursula Brew. The Ursula Brew was a purple Mio electrolyte water.
Tip 4 instead of buying an expensive cake customized with Ursula you could get a edible cake topper and put it on any cake. We bought simple cakes from the market and added a custom cake topper from my party helpers on etsy. We put one on a small cake for a small celebration with out of town family and a large sheet cake for the party. It worked best on the whipped frosting cake. You could see the edges on the large sheet cake with butter frosting, but that is my fault not the topper’s. I did not follow the directions and mist it with water. Next time I will follow the directions.
Tip 5 plan activities we kept it simple with swimming, pinata and a bounce house. We ended up getting an Ariel pinata to save money, but if you can afford it there is an amazing Ursula pinata on Etsy from PinataDesignStudio. It can also be purchased in Anaheim or Long Beach at Geeky Momas .
President’s day is just around the corner and I thought it would be fun to share some lesson ideas for young children in preschool- first grade. The ideas will include include Language Arts, Social Studies, Math and the Visual Arts. These lessons can be done at home or at school in a larger group.
For preschool age children a President’s Day themed memory match game is a good activity to learn vocabulary words and to identify U.S.A. symbols associated with President’s Day as well as improving memory skills and learning math concepts such as same, different and matching pairs. The President’s Day Memory Match Game is available as a free download from the Primary Inspiration blog. My almost 3 year old daughter enjoyed gluing the cards on thicker paper and helping to cut them out. Later we played a modified version of the game using 6 cards instead of the complete 24 cards. We started with 6 to introduce the game and will gradually add more cards as she becomes more familiar with the game.
Kindergarten through First grade children can enjoy learning about Abraham Lincoln with a lesson using the book Abe Lincoln’s Hat by Martha Brenner. Children will learn that Abe Lincoln was an important person in history and that he kept things he needed to remember in his hat. Here is a free download of a lesson plan to use with Abe Lincoln’s Hat.
You can have your child draw their own portrait of Abraham Lincoln to decorate or you can use the picture above. Then you can paint, color or make a collage using glue and torn paper tissue or recycled materials. We used a torn up cereal box and black tissue paper.
If you would like to set up a dramatic play area you could add some fun President costumes or a patriotic tutu skirt. For an Lincoln or Washington costume you could use and old adult sized suit coat, a top hat and a white wig made of yarn. Amazon also has a few already made costumes. You could also get a Tulle & the Dragon tutu skirt made in any size. Below you will find some pictures of a few possibilities. Have fun learning together. Also, feel free to share your ideas for President’s Day in the comments below. Make sure to follow my blog for more activities and resources for families with young children.
February can be a fun month to celebrate friendship and Valentine’s Day. Below you will find 3 fun activities all using heart shaped cookie cutters. You might even get to use some goodies leftover from the holidays.
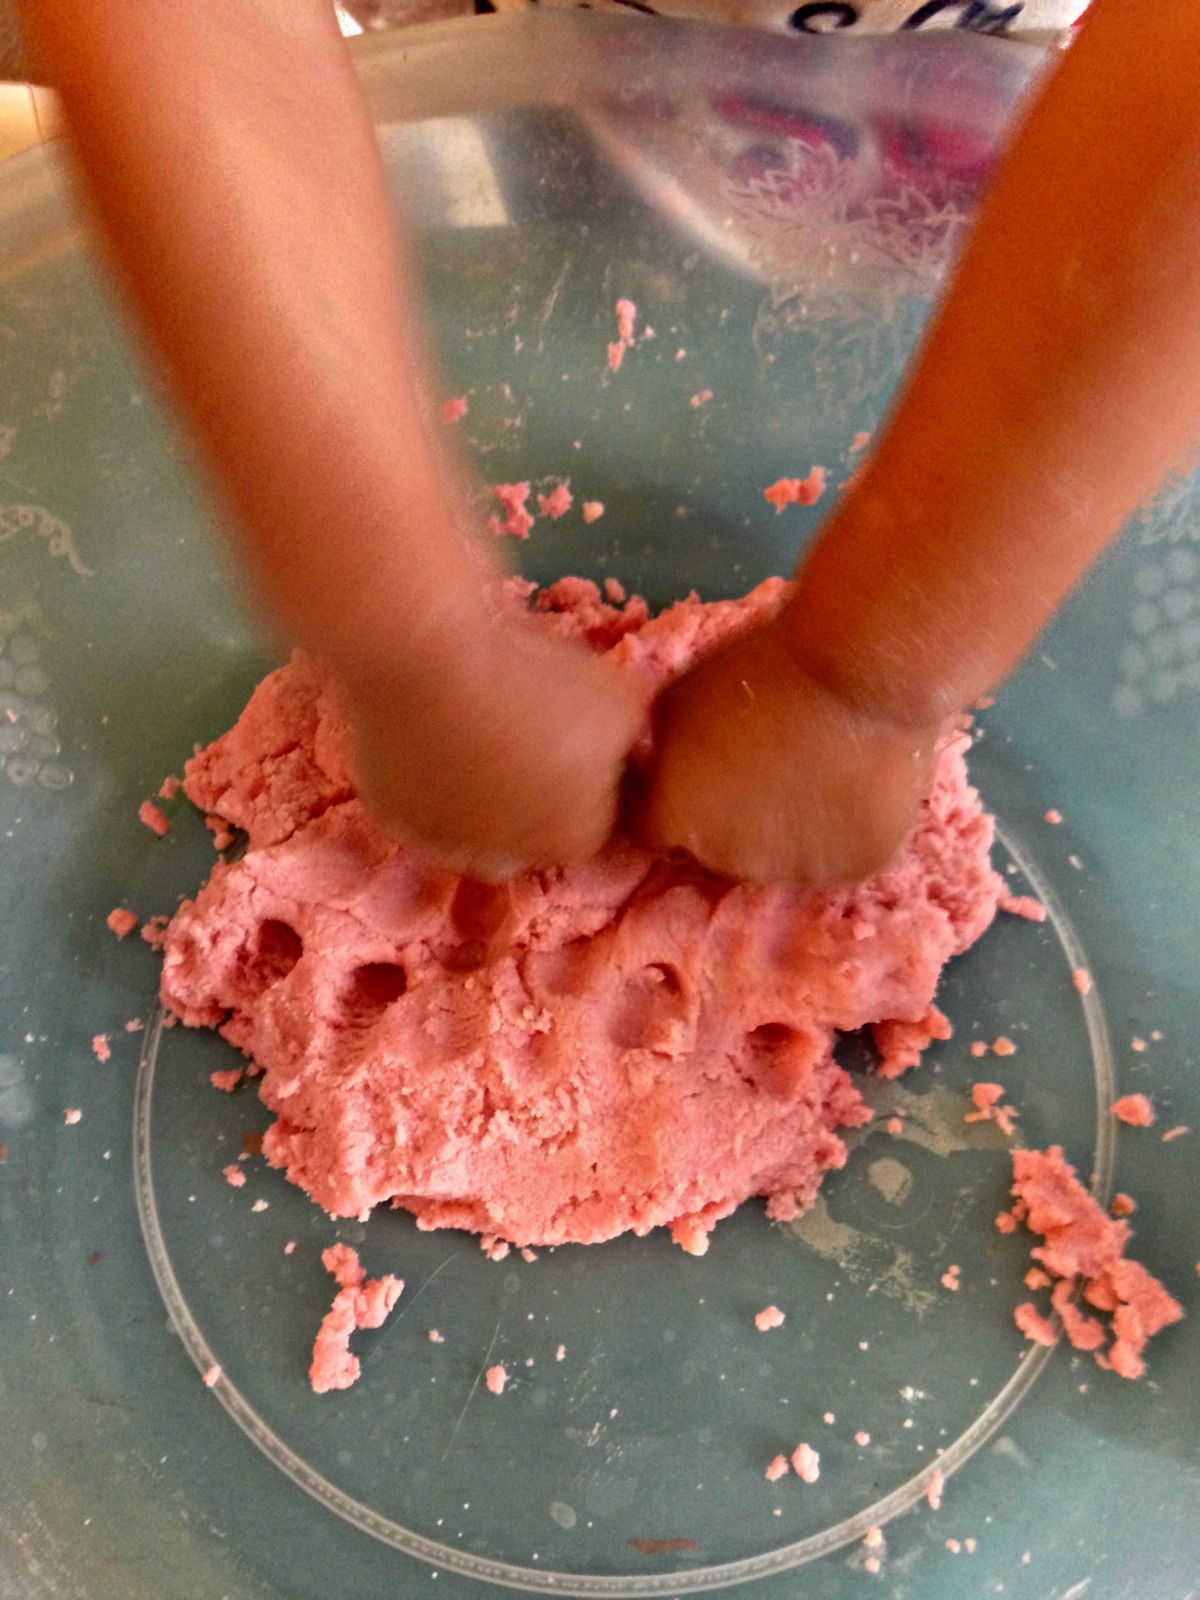
To celebrate Valentine’s Day and friendship you can bake cookies, paint and make your own play dough to use with heart shaped cookie cutters. If you have leftover red, green and white M & M’s you can sort out the red M&M’s and make red heart cookies. You can probably find Holiday M&M’s in the clearance section if you don’t have any.
Get 3 plates and have your little one sort the 3 different colors. This can reinforce the early learning Math concepts of sorting and matching. Put the red ones aside to decorate your cookies later. You can make your cookie dough by following a recipe or if your short on time you can use a Sugar Cookie Mix like I did.
After your dough is made and cooled, roll out the dough and use Heart Shaped Cookie Cutters to cut out heart shaped cookies. Then your little one can decorate the cookies with M&M’s before putting them in the oven. Next bake your cookies, let them cool and you have a treat you can share with a friend.
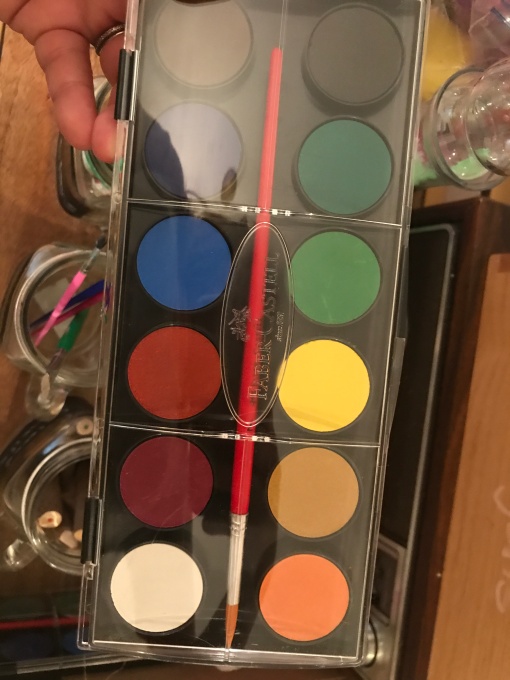
You can also use your cookie cutters to paint after they are washed. Just put a little Paint
on a plate (mix the paint with soap to make it last longer and wash out of clothes easier). Encourage your child to dip the cookie cutter in the paint and make prints on paper.
Lastly, you can make your own play dough to use with heart shaped cookie cutters. To make the play dough follow the recipe bellow.
Mix dry ingredients first then add wet ingredients. Mix the ingredients together with hands until a nice dough is formed. For a longer lasting play dough cook the ingredients on the stove.
Now you can use the cookie cutters to make fun heart shapes with the dough. These are just a few fun activities you can do in February. Make sure to follow my blog for more fun activities. Soon I will write about more activities for Winter and President’s Day.
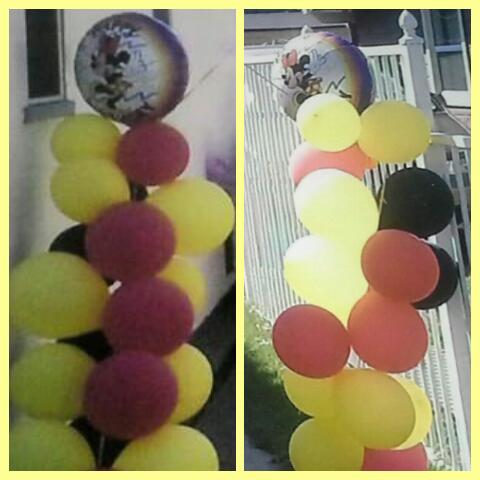
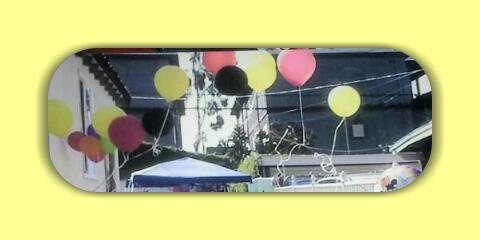
Every party needs a little eye candy. Do It Yourself party decorations can be as sweet on the eyes as well as the wallet. In this third and final post for our series on how to have an affordable and fantastic Mickey and Minnie Mouse themed birthday party we will be sharing a few decorating ideas you can do yourself like balloon arches, a Minnie Mouse decorated toddler chair and personalized Minnie Mouse eared center pieces.
A fun and easy balloon arch can be accomplished with a few tools. I was able to make the one seen above by myself with the a little help from the 2 year old birthday girl (i.e., running around, laughing and diving at balloon pillars). It may not be perfection but with a the same tools and a little adult help you could surpass my balloon arch. Thankfully, my husband and father were able to help with the rest of the party set up (angels singing, thank God for family).
I also got a few ideas from watching this video from TNT Balloons Corp.
Step one you need to watch a few videos. I started out watching the video above with Sandi Masori. I definitely modified it to be more simple and to save time, but it gave me some of the foundational skills I needed to get started (e.g., learning how to make a balloon column).
Then I gathered my materials Balloon Time Helium Tank, balloons (red, yellow and black), Minnie Mouse Vintage Foil Mylar Balloons, Curling Ribbon, and two long sticks. I filled up balloons with helium and tied them around the sticks using the curling ribbon in a spiral pattern similar to the steps in the first video to create columns.
Next, I tied helium balloons to the top of the curling ribbon to create the arch. I got the idea for the arch with the balloons tied to the string from the Balloons TNT Corp. video. Doing this style of arch saved me time, money and balloons. This gave me more time to spend with family.
Another decoration that was easy to make was a Minnie Mouse themed chair for the birthday girl. The materials needed to create the chair seen above include a toddler sized chair, black Chalkboard Paint, White Liquid Chalk Pen, number 2 stencil, 4 small, black party plates, a polka dot bow and a glue gun.
First I used black chalkboard paint to paint a child sized chair I found at a yard sale. I then used a hot glue gun to glue two small black paper plates to the front of the chair and two small plates to the back to look like Minnie Mouse ears. Then I glued a big red bow with polka dots in the middle of the ears.
To write the number two on the chair I used a number two stencil, taped it to the chair and colored it in with white chalkboard pen. Then I removed the stencil and wrote my daughter’s name under the number 2 to add a personal touch. I also decorated a second chair for a friend with just the ears and added a red tutu, table skirt around the toddler table.
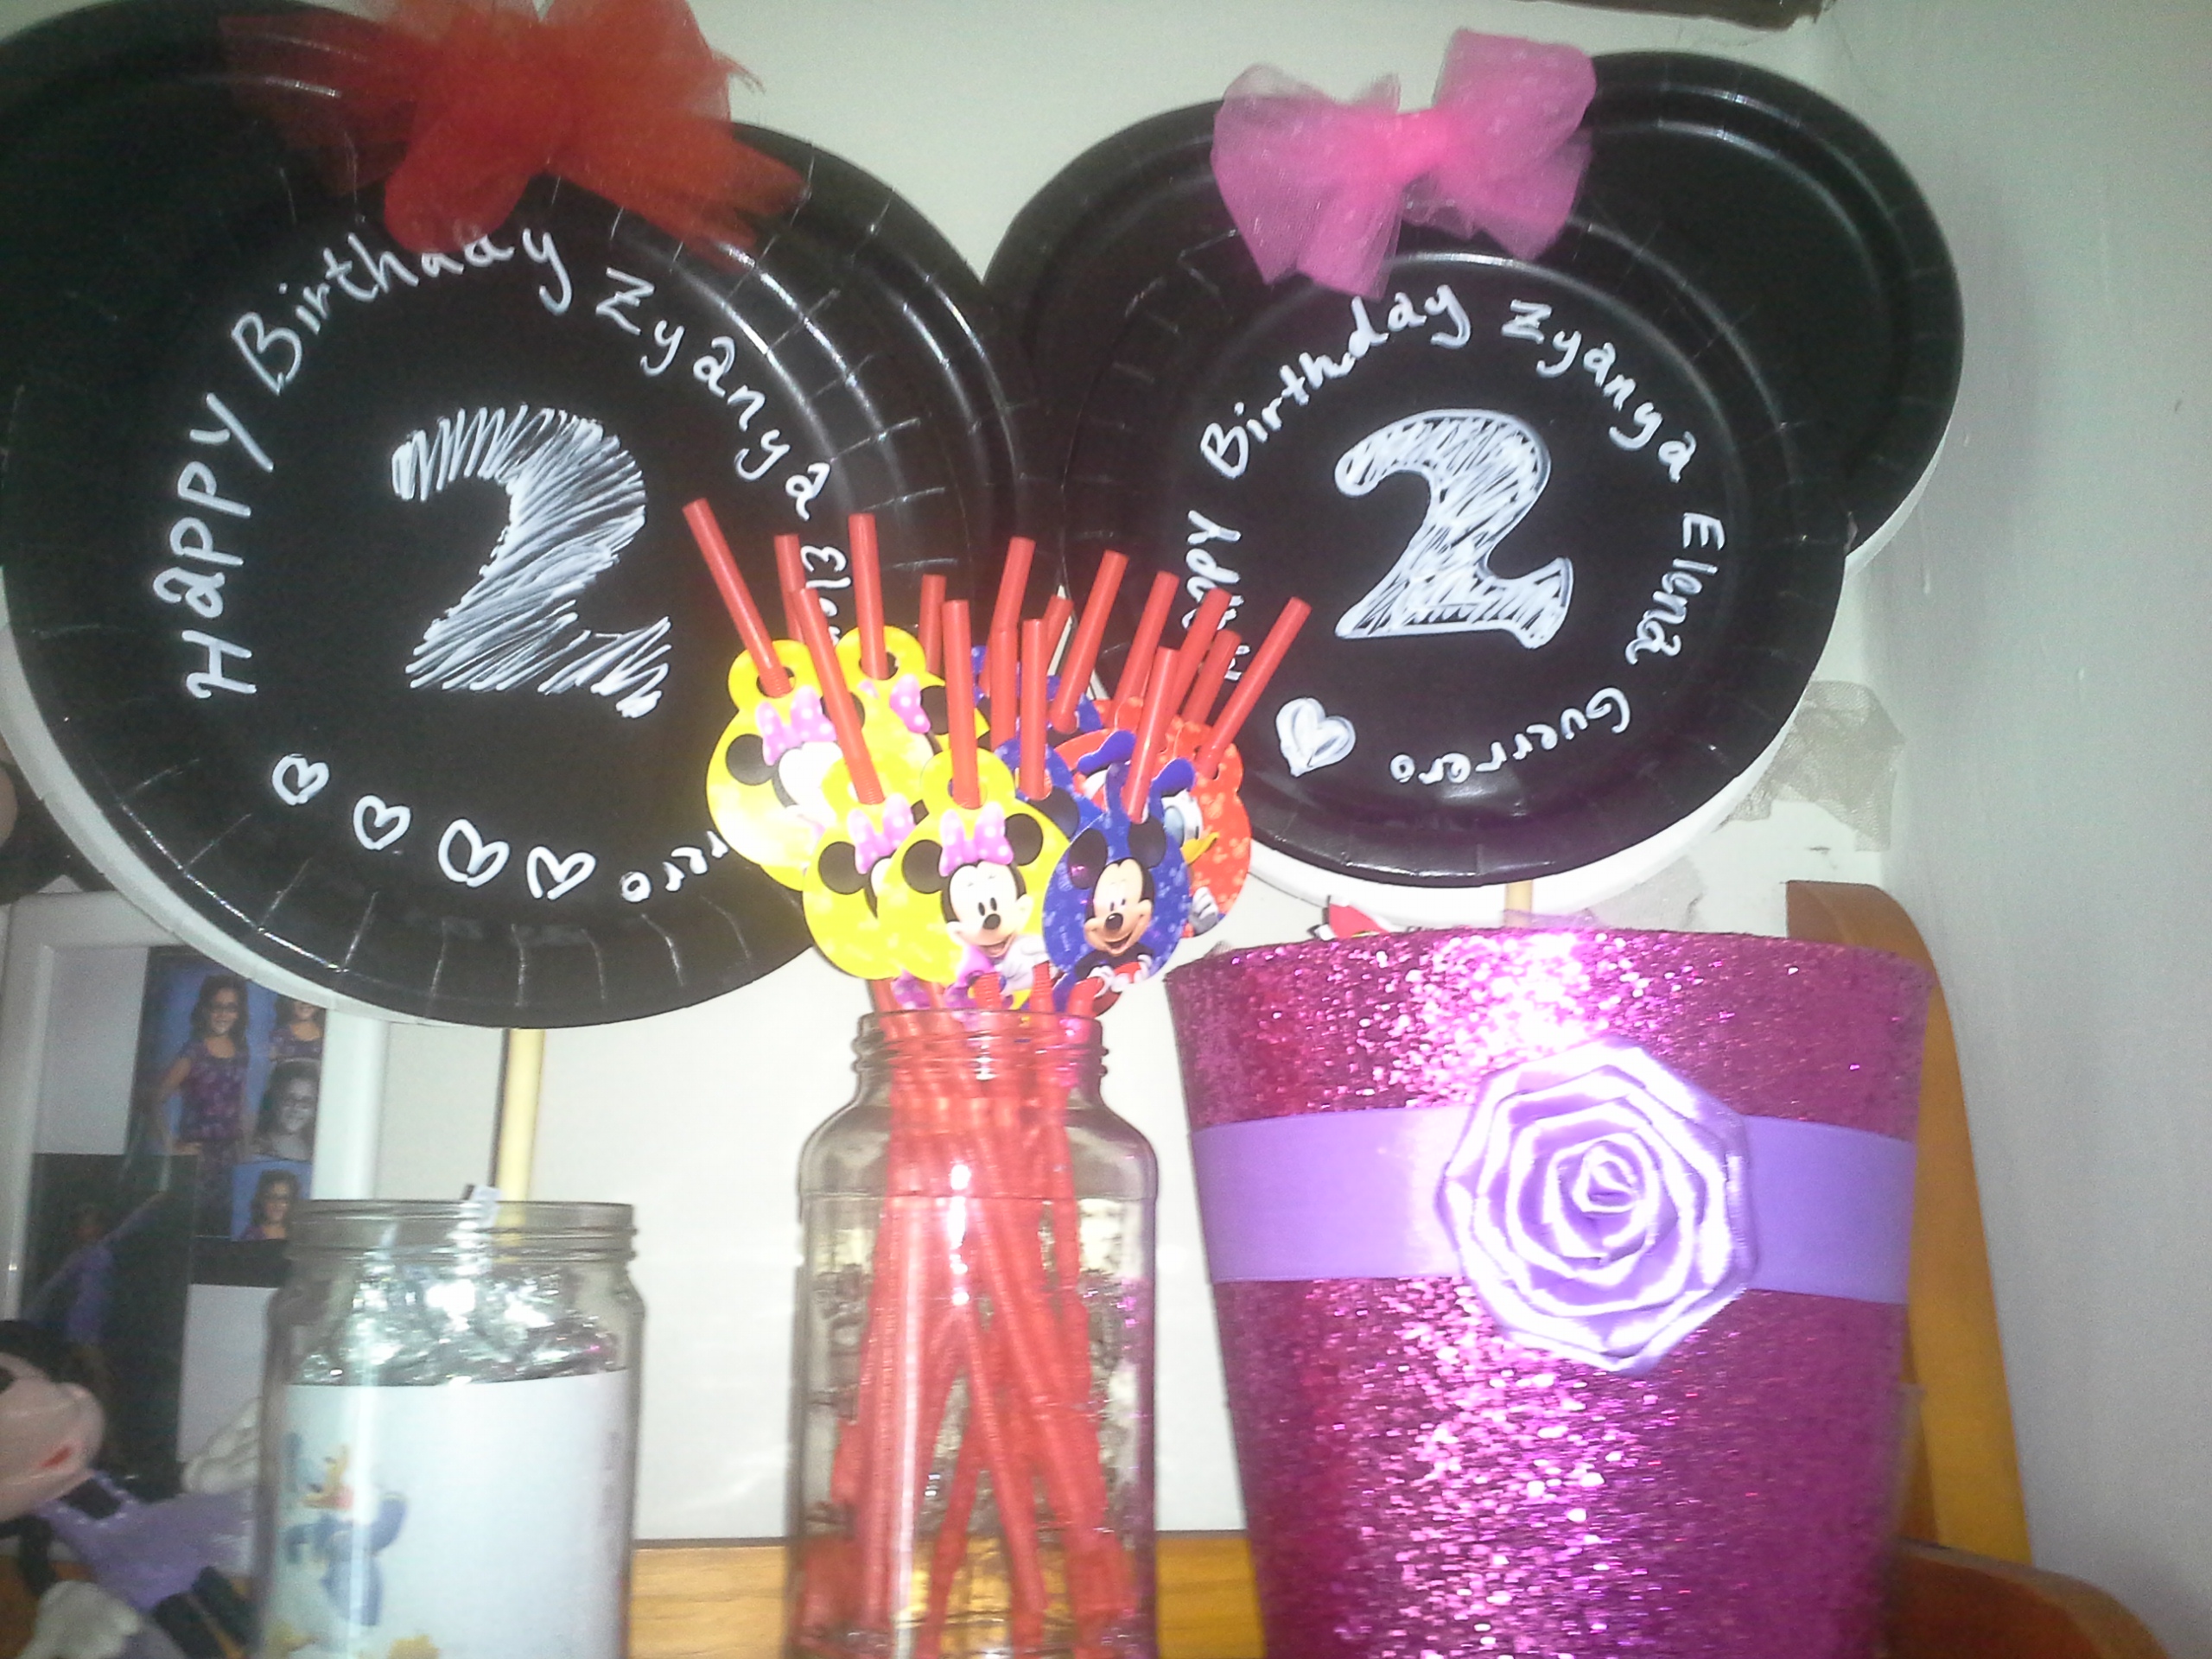
Now, let’s move on to centerpieces. The materials needed to make the centerpieces seen above include; large black paper plates, small black paper glue gun, number two stencil, white chalkboard pen, tulle, floral arrangement foam, sticks, mason jars, Mickey Mouse print outs and candy or decorative rocks.
First, I lined the mason jars with paper print outs of Mickey and his friends. You can find the printouts at family.disney.com. The print out I used are cup cake toppers, but they also work to line the mason jars. You can find many other helpful party print outs at the site including printable party invitations.
Then I used a hot glue gun to glue 2 large, black paper plates together with a stick in-between. I cut a small, black paper plate in half, glued it together, and repeated to make ears. I then glued the ears towards the top of the larger plate’s in-between the plates to make Minnie’s ears. To create a big bow I tied a strip of tulle together into a bow. I glued the bow in-between the ears. Then I used the #2 stencil to color the number 2 on the face of the plate. To personalize it more I wrote my daughter’s full name around the plate.
After, making the Minnie Mouse head it was time to place it into the jar. Inside the jar I put some floral Foam
and poked the stick with the Minnie Mouse head through. To make it more secure I filled the jar with hard candy and chocolate kisses. You could also use decorative rocks or gumballs. I then repeated this process five times to ensure there would be a enough centerpieces for each table at the party. I also, used a pink glitter bucket instead of a mason jar for the snack table centerpiece. I found the glitzy container on a Valentine’s Day clearance rack at a local market for 75% off. Repurposing items is another DIY way to save money for a spa day ( i.e., my toddler rubbing squeezable yogurt on my face as she points to my eyes, ears and nose).
The balloon arch, Minnie Mouse decorated toddler chair and personalized centerpieces were just a few of the do it yourself decorations at the party to provide aesthetic enjoyment. We also had vintage lunch boxes, Disney action figures, character table clothes, classic Minnie Mouse posters and a few tulle table skirts. For more ideas check out my pinterest board and please share your favorite do it yourself decorating ideas in the comments below.
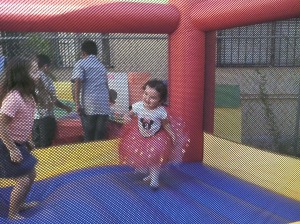
This year for my daughter’s 2nd birthday we decided to throw her a Mickey and Minnie Mouse themed birthday party in honor of taking her to Disneyland for the first time. We like most people could not afford to take all of our close family and friends to the magical kingdom. Instead we decided to bring a little of the happiest place on earth to our backyard.
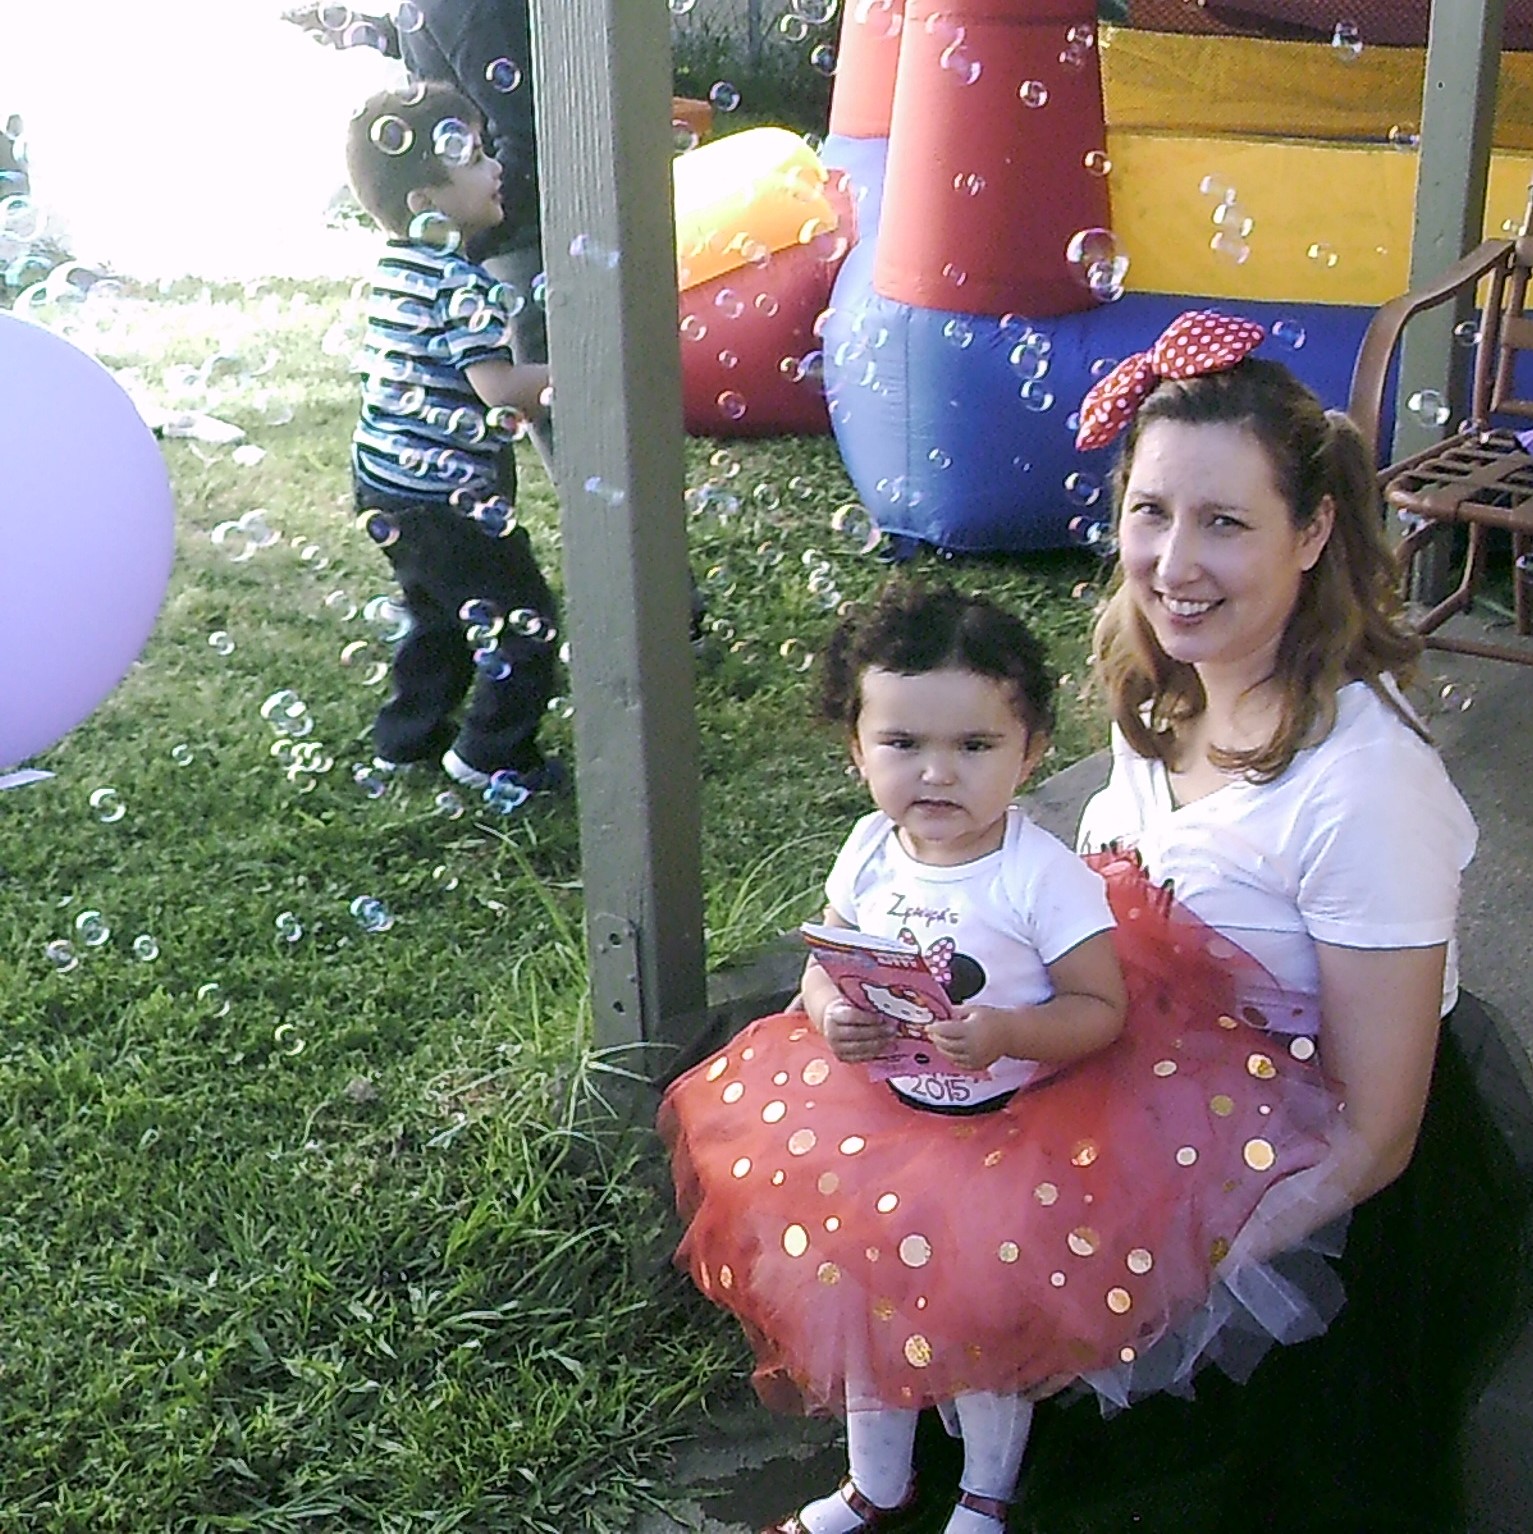
Since Minnie Mouse is such a fashionable mouse we decided to design our wardrobe first. For my daughter I made her a red, tulle circle skirt with gold hologram polka dots. Underneath the skirt she wore an extra fluffy white tutu skirt to achieve the maximum fullness of her circle skirt. For her top I ironed on a personalized decal from girlymommadesigns.com on to a plain white bodysuit. The design had a silhouette of Minnie’s head with a red and white polka dot bow and a number 2 in the middle. She also had a pair of glitter Minnie Mouse ears that she refused to wear. We did not make her since it was her party and she can wear or not wear the ears if she wants to, right?
For mom and dad we wore shirts that said “Mom of the birthday girl” and “Dad of the birthday girl.” The decals were from GMD Decals (Girly Mama Designs Decals). My husband wore jeans and I wore a custom made black, tulle circle skirt and a big red and white bow. We also had shirts available for guests that wanted to wear personalized Minnie shirt at the party. The shirts for guests said “Happy Birthday, 2, Zyanya 2015” with a silhouette of Minnie Mouse with a red and white polkadot bow.
Stay tuned for my next Mickey and Minnie Mouse birthday party post. The next post will be about fun party games that are easy to make and play at a Minnie and Mickey Mouse themed birthday party. Feel free to share in a comment your favorite party outfits and accessories. Until then toodles.
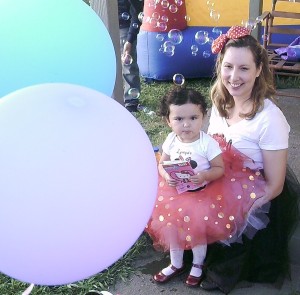
Throwing a tea party can be a fun way to celebrate a big occasion like a birthday or an unforgettable intimate gathering of friends and family. With preparation, vintage and handmade touches you can have a nostalgic yet unique tea party. Here are seven steps to help you plan your own Alice in Wonderland inspired tea party.
Step one choose a theme. Some popular themes include traditional English high noon tea party, Mid-century, Princess, Fairy and Mad Hatter tea party. I threw a “Onederland” (Alice in Wonderland inspired) tea party to celebrate my daughter’s first birthday.
Next you will need to decide on a location. If you are having a small tea party you could choose to have your gathering indoors in your dining or living room. Having an indoor tea party for a small group can make it easier to decorate and keep your teapot filled to the brim with hot water and fresh tea. If you are having a larger party of twenty or more guests you might consider having an outdoor tea party in a garden, back yard or park. For my daughter’s Onederland tea party we used the backyard with tables and pop up tents for shade.
Step three you need to create a guest list and invite guests. Write down a list of guests you would like to invite or if you are organized and handy with excel you can create an excel spread sheet to keep track of guests, RSVP, food needed etc. There are many ways to invite guests: an informal phone call or text for everyday tea time or e-vites and classic paper invitations for more formal events such as birthdays and showers. For my little one I created a personal invitation with our own pretend tea party photo shoot. Just another excuse to dress up and play. You can create your own or download an invitation to print from home at various sites. Below is the one I created.
Now you can think about how you will decorate for your vintage inspired tea party. If you are having an Alice in Wonderland or Mad Hatter tea party you might look for or create Victorian or characters from Alice in Wonderland such as Alice, the Mad Hatter, the Cheshire Cat etc. For our Onederland party we had handmade miniature top hats inspired by the Mad Hatter, bunting banners decorated with photographs of my daughter’s first year, vintage inspired fabric bunting banners, hand painted posters, vintage tea pots, silk flowers with eyes, balloons, paper lanterns, “this way” and “that way” signs and giant playing cards to recreate the croquet in Alice in Wonderland.
Step five you will need to decide on what you will eat and drink at the party. A traditional tea party might include a menu of black tea with milk, cucumber sandwiches, cake, cookies, scones and other small finger foods. We decided combined traditional tea party fare with Mexican food. Our traditional tea party food included cookies labeled eat me in colorful frosting, cake, cucumber sandwiches and tea. To make the tea child friendly we served herbal, decaffeinated apple tea served room temperature. We also had traditional Mexican American food such as carnitas, pollo asada, beans, rice and nopales. If you are having guests over for more than afternoon tea it is wise to have more than traditional tea snacks.
For the sixth step you might consider activities for your tea party such as music and party games. We created an eclectic playlist that included retro music, children’s music, the music from the Tea Cup ride at Disneyland and some of my daughter’s favorites like “Free as a Bee” from Hillsong kids. We also had a Mad Hatter bean bag toss game, croquet, and a piñata.
Lastly, you could plan your attire. For high noon tea it is proper for women to wear elegant dresses or pants, jewelry and most importantly hats.
Men and boys can wear a suit without a tie, neat trousers, button up or polo shirts. Young girls can wear fancy dresses with ribbons in their hair or a hat.
If it is a children’s tea party, attire can include costumes to match the theme such as tutu’s and aprons. Below are two of the party guests dressed as a very handsome and adorable pair of Tweedle’s.
The birthday girl wore a handmade Alice in Wonderland inspired tutu, embossed bodysuit and top hat headband.
As the host of the party I wore a lovely 1970’s prairie style Gunne Sax dress with a handmade miniature top hat. You could also get an adult size tutu or tulle lined skirt. To encourage guests to join in the dress up fun you might consider having a few tutu skirts in a variety of colors and sizes available for guests at the party.
You will need to do more than plan for your vintage inspired tea party. However, with these seven step’s choose a theme, choose a location, invite guests, plan decorations, decide on what to serve guests and what to you will wear; you will soon be on your way to throwing a vintage inspired tea party that you and your guests will remember for a long time.


 My daughter quickly stated her own child led art projects like foam sticker letters on paper, painting her pony, and make a Sofia the first sculpture. I was even able to repurpose a plastic shot glass to hold water from my 40th Birthday party that was more like a small gathering.


 Now you have a card and colorful golf ball decorated by your child to give on Father’s day. Have a wonderful Father’s day and be sure to follow our blog for more fun. Our next blog will include free events for young children in the summer.

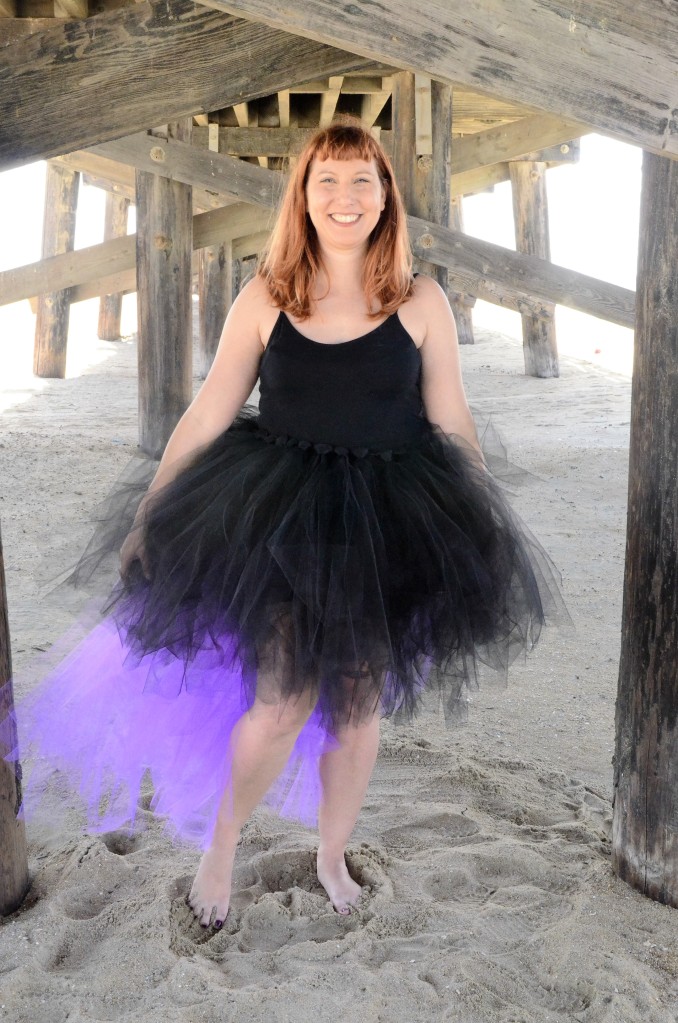
 For the party I made us both matching