

Every party needs a little eye candy. Do It Yourself party decorations can be as sweet on the eyes as well as the wallet. In this third and final post for our series on how to have an affordable and fantastic Mickey and Minnie Mouse themed birthday party we will be sharing a few decorating ideas you can do yourself like balloon arches, a Minnie Mouse decorated toddler chair and personalized Minnie Mouse eared center pieces.
A fun and easy balloon arch can be accomplished with a few tools. I was able to make the one seen above by myself with the a little help from the 2 year old birthday girl (i.e., running around, laughing and diving at balloon pillars). It may not be perfection but with a the same tools and a little adult help you could surpass my balloon arch. Thankfully, my husband and father were able to help with the rest of the party set up (angels singing, thank God for family).
Step one you need to watch a few videos. I started out watching the video above with Sandi Masori. I definitely modified it to be more simple and to save time, but it gave me some of the foundational skills I needed to get started (e.g., learning how to make a balloon column).
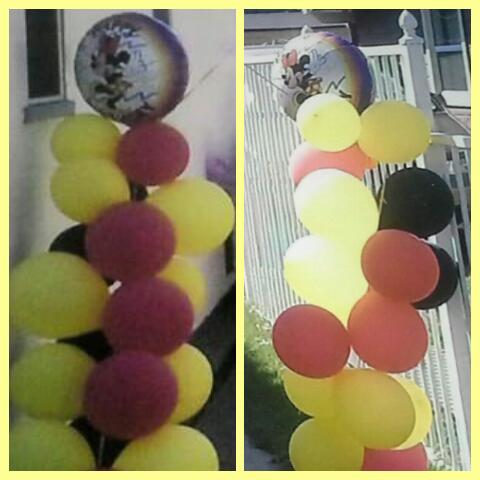 Then I gathered my materials Balloon Time Helium Tank, balloons (red, yellow and black), Minnie Mouse Vintage Foil Mylar Balloons, Curling Ribbon, and two long sticks. I filled up balloons with helium and tied them around the sticks using the curling ribbon in a spiral pattern similar to the steps in the first video to create columns.
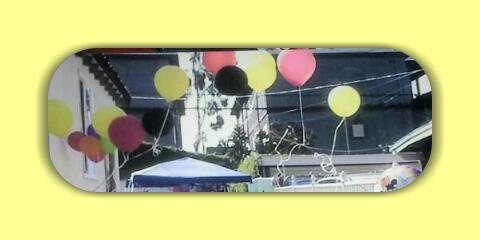
Next, I tied helium balloons to the top of the curling ribbon to create the arch. I got the idea for the arch with the balloons tied to the string from the Balloons TNT Corp. video. Doing this style of arch saved me time, money and balloons. This gave me more time to spend with family.

Another decoration that was easy to make was a Minnie Mouse themed chair for the birthday girl. The materials needed to create the chair seen above include a toddler sized chair, black Chalkboard Paint, White Liquid Chalk Pen, number 2 stencil, 4 small, black party plates, a polka dot bow and a glue gun.

First I used black chalkboard paint to paint a child sized chair I found at a yard sale. I then used a hot glue gun to glue two small black paper plates to the front of the chair and two small plates to the back to look like Minnie Mouse ears. Then I glued a big red bow with polka dots in the middle of the ears.
 To write the number two on the chair I used a number two stencil, taped it to the chair and colored it in with white chalkboard pen. Then I removed the stencil and wrote my daughter’s name under the number 2 to add a personal touch. I also decorated a second chair for a friend with just the ears and added a red tutu, table skirt around the toddler table.
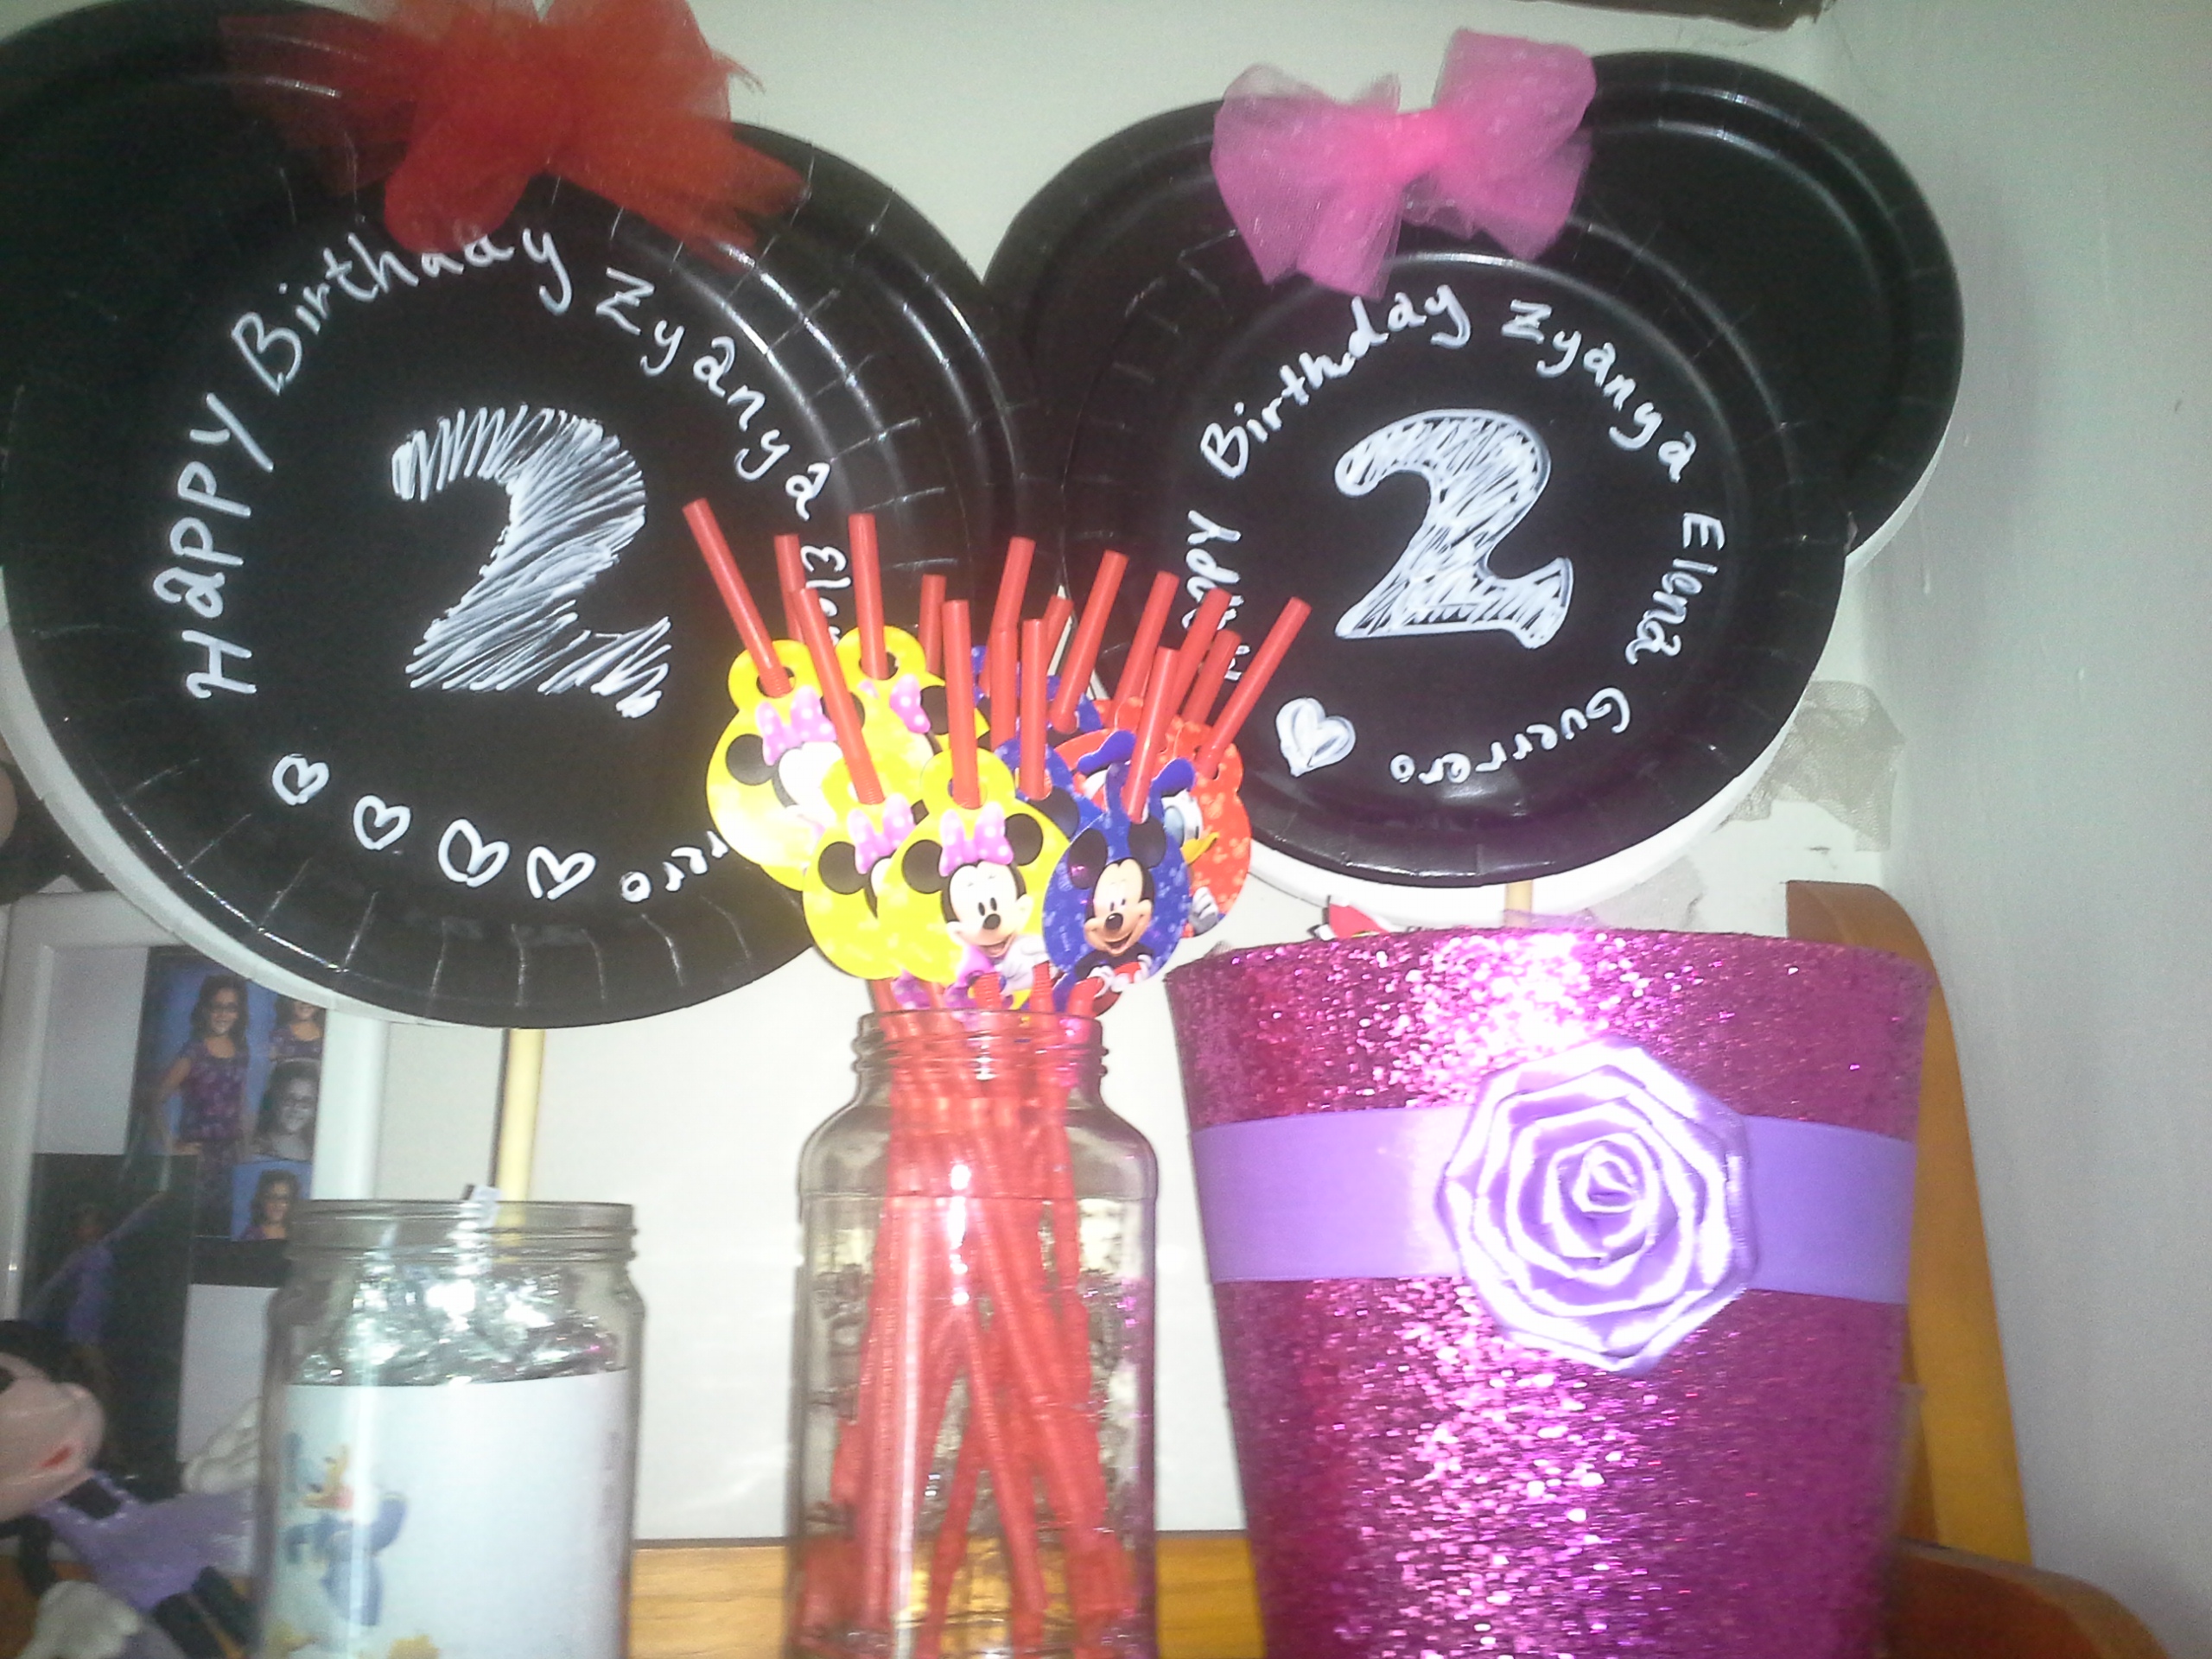 Now, let’s move on to centerpieces. The materials needed to make the centerpieces seen above include; large black paper plates, small black paper glue gun, number two stencil, white chalkboard pen, tulle, floral arrangement foam, sticks, mason jars, Mickey Mouse print outs and candy or decorative rocks.
First, I lined the mason jars with paper print outs of Mickey and his friends. You can find the printouts at family.disney.com. The print out I used are cup cake toppers, but they also work to line the mason jars. You can find many other helpful party print outs at the site including printable party invitations.
Then I used a hot glue gun to glue 2 large, black paper plates together with a stick in-between. I cut a small, black paper plate in half, glued it together, and repeated to make ears. I then glued the ears towards the top of the larger plate’s in-between the plates to make Minnie’s ears. To create a big bow I tied a strip of tulle together into a bow. I glued the bow in-between the ears. Then I used the #2 stencil to color the number 2 on the face of the plate. To personalize it more I wrote my daughter’s full name around the plate.
After, making the Minnie Mouse head it was time to place it into the jar. Inside the jar I put some floral Foam
and poked the stick with the Minnie Mouse head through. To make it more secure I filled the jar with hard candy and chocolate kisses. You could also use decorative rocks or gumballs. I then repeated this process five times to ensure there would be a enough centerpieces for each table at the party. I also, used a pink glitter bucket instead of a mason jar for the snack table centerpiece. I found the glitzy container on a Valentine’s Day clearance rack at a local market for 75% off. Repurposing items is another DIY way to save money for a spa day ( i.e., my toddler rubbing squeezable yogurt on my face as she points to my eyes, ears and nose).

The balloon arch, Minnie Mouse decorated toddler chair and personalized centerpieces were just a few of the do it yourself decorations at the party to provide aesthetic enjoyment. We also had vintage lunch boxes, Disney action figures, character table clothes, classic Minnie Mouse posters and a few tulle table skirts. For more ideas check out my pinterest board and please share your favorite do it yourself decorating ideas in the comments below.

