Tulle & the Dragon is an online group and boutique dedicated to creating costumes, special occasion outfits and other creative activities that express the imagination and creativity of girls and women of all ages.
Here are a few tips that helped my 2 year old daughter and I have a happy time at the happiest place on earth without meltdowns.
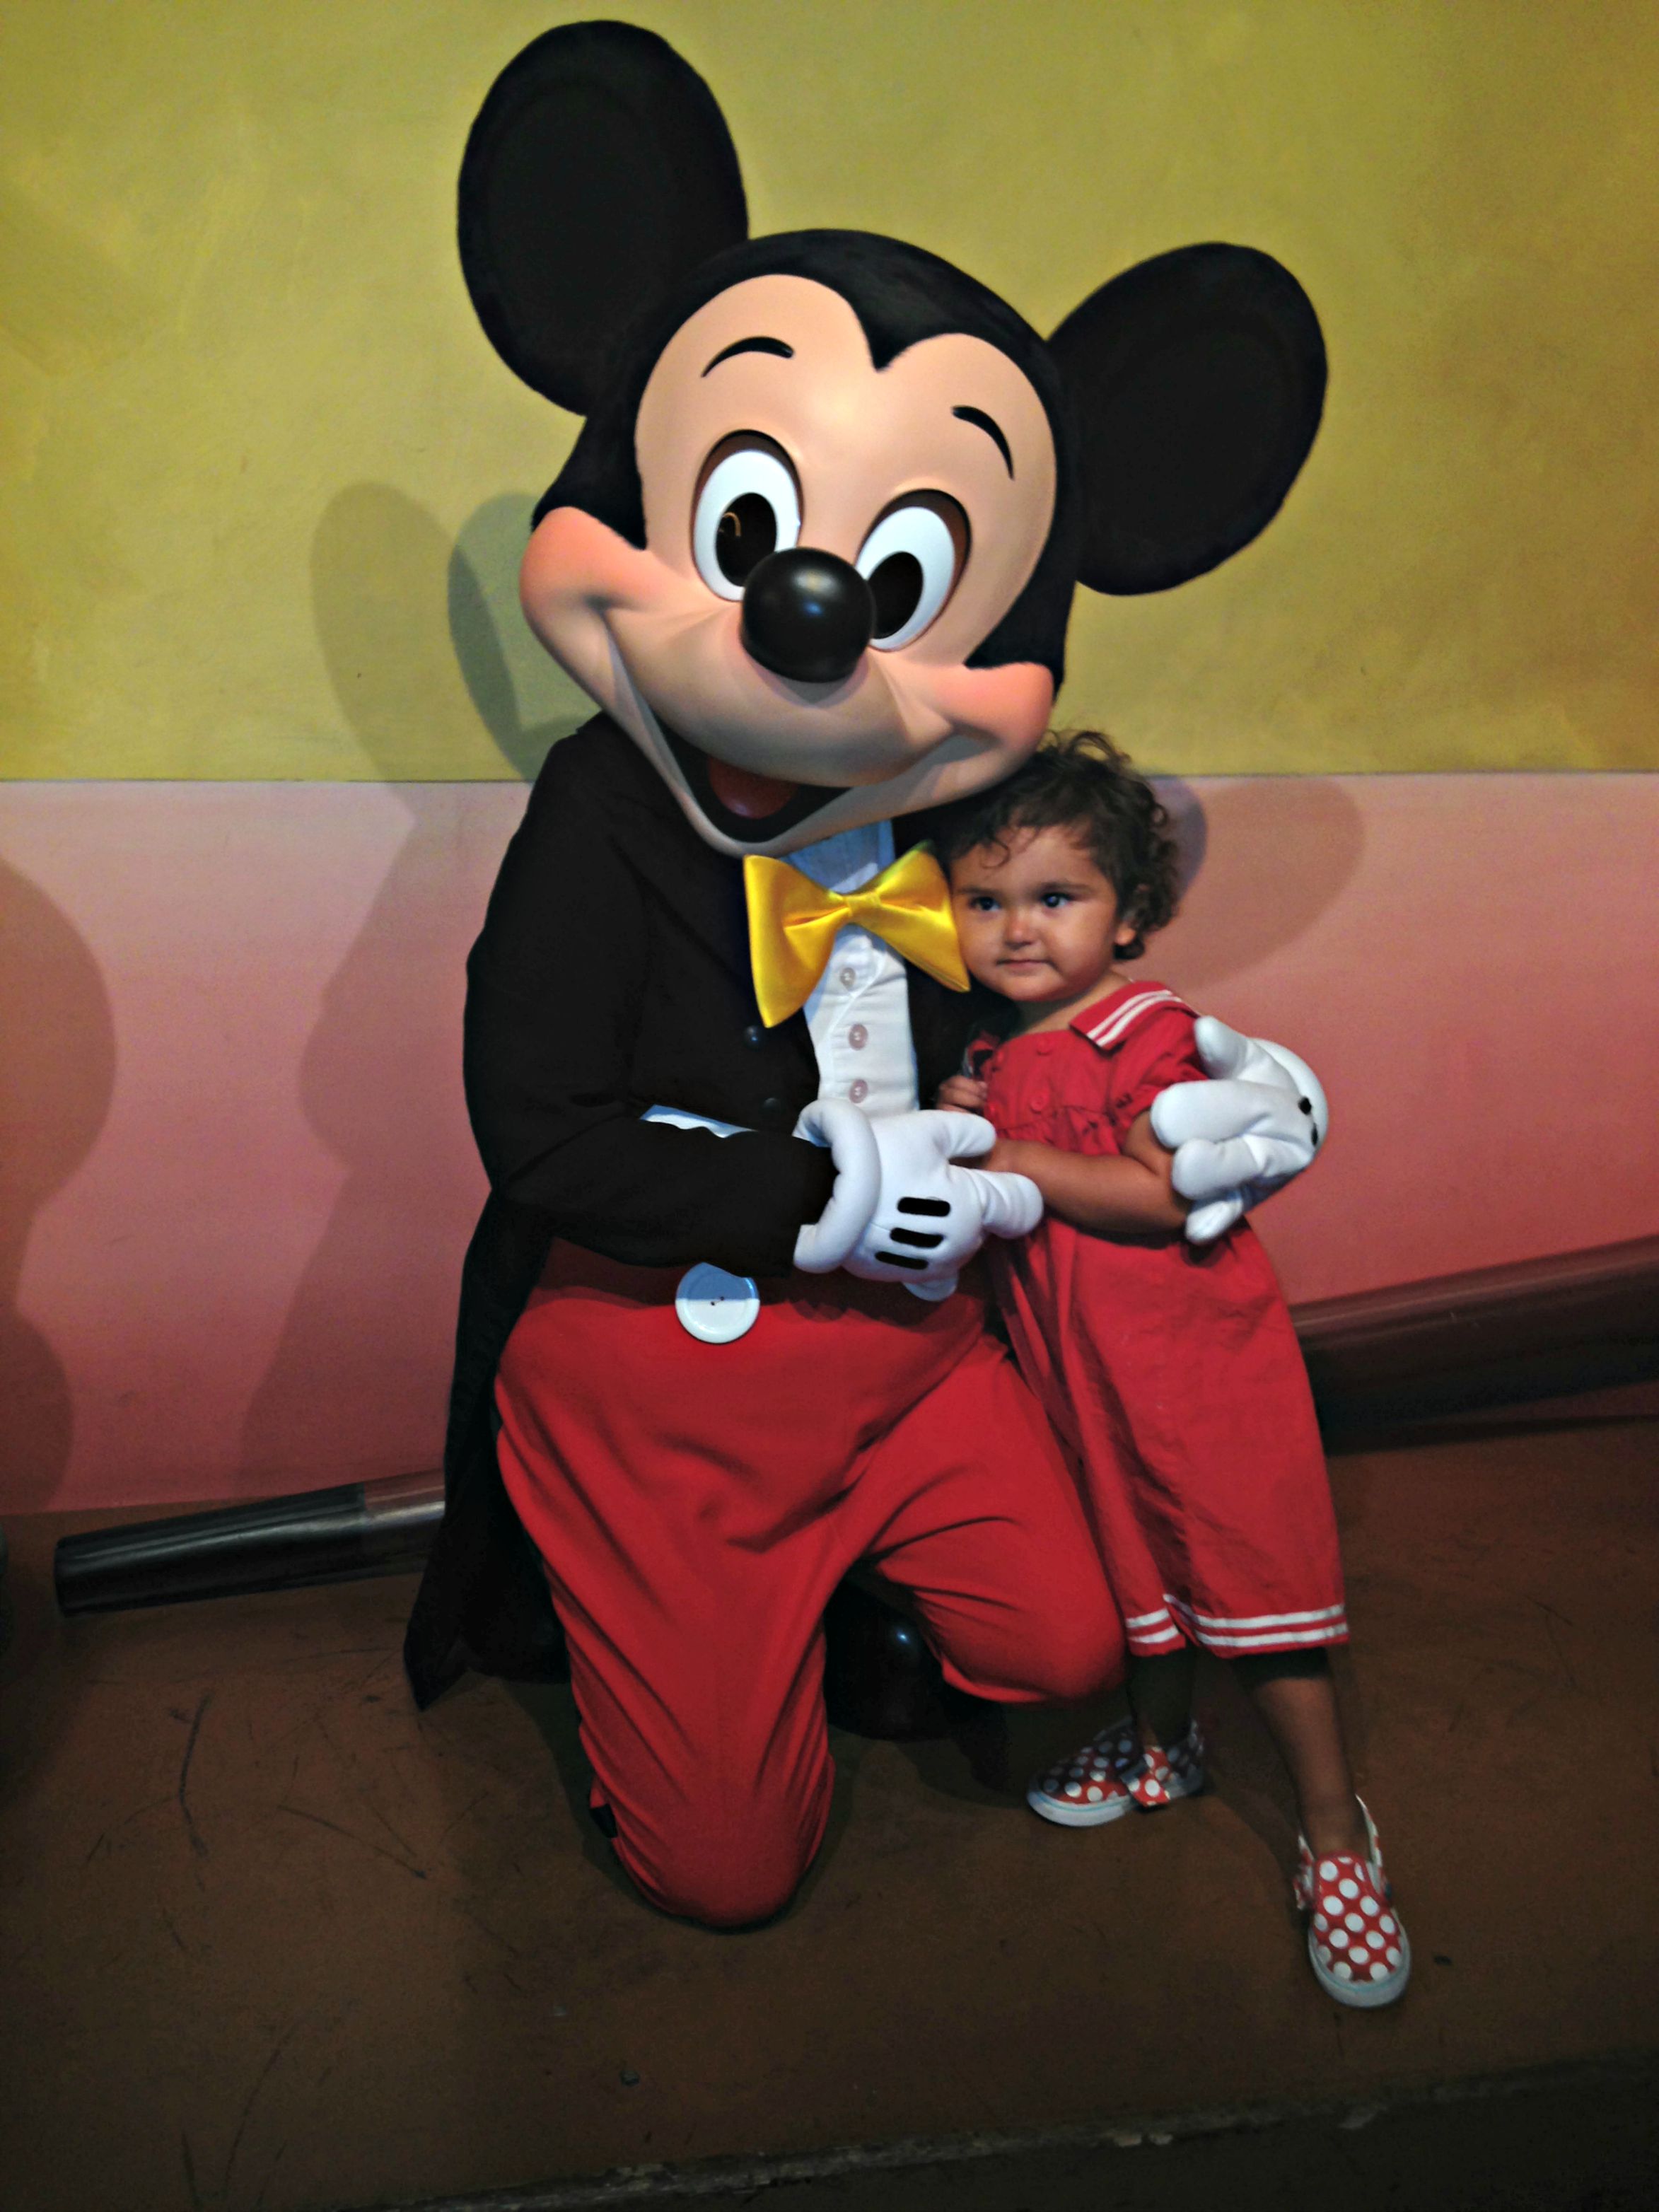
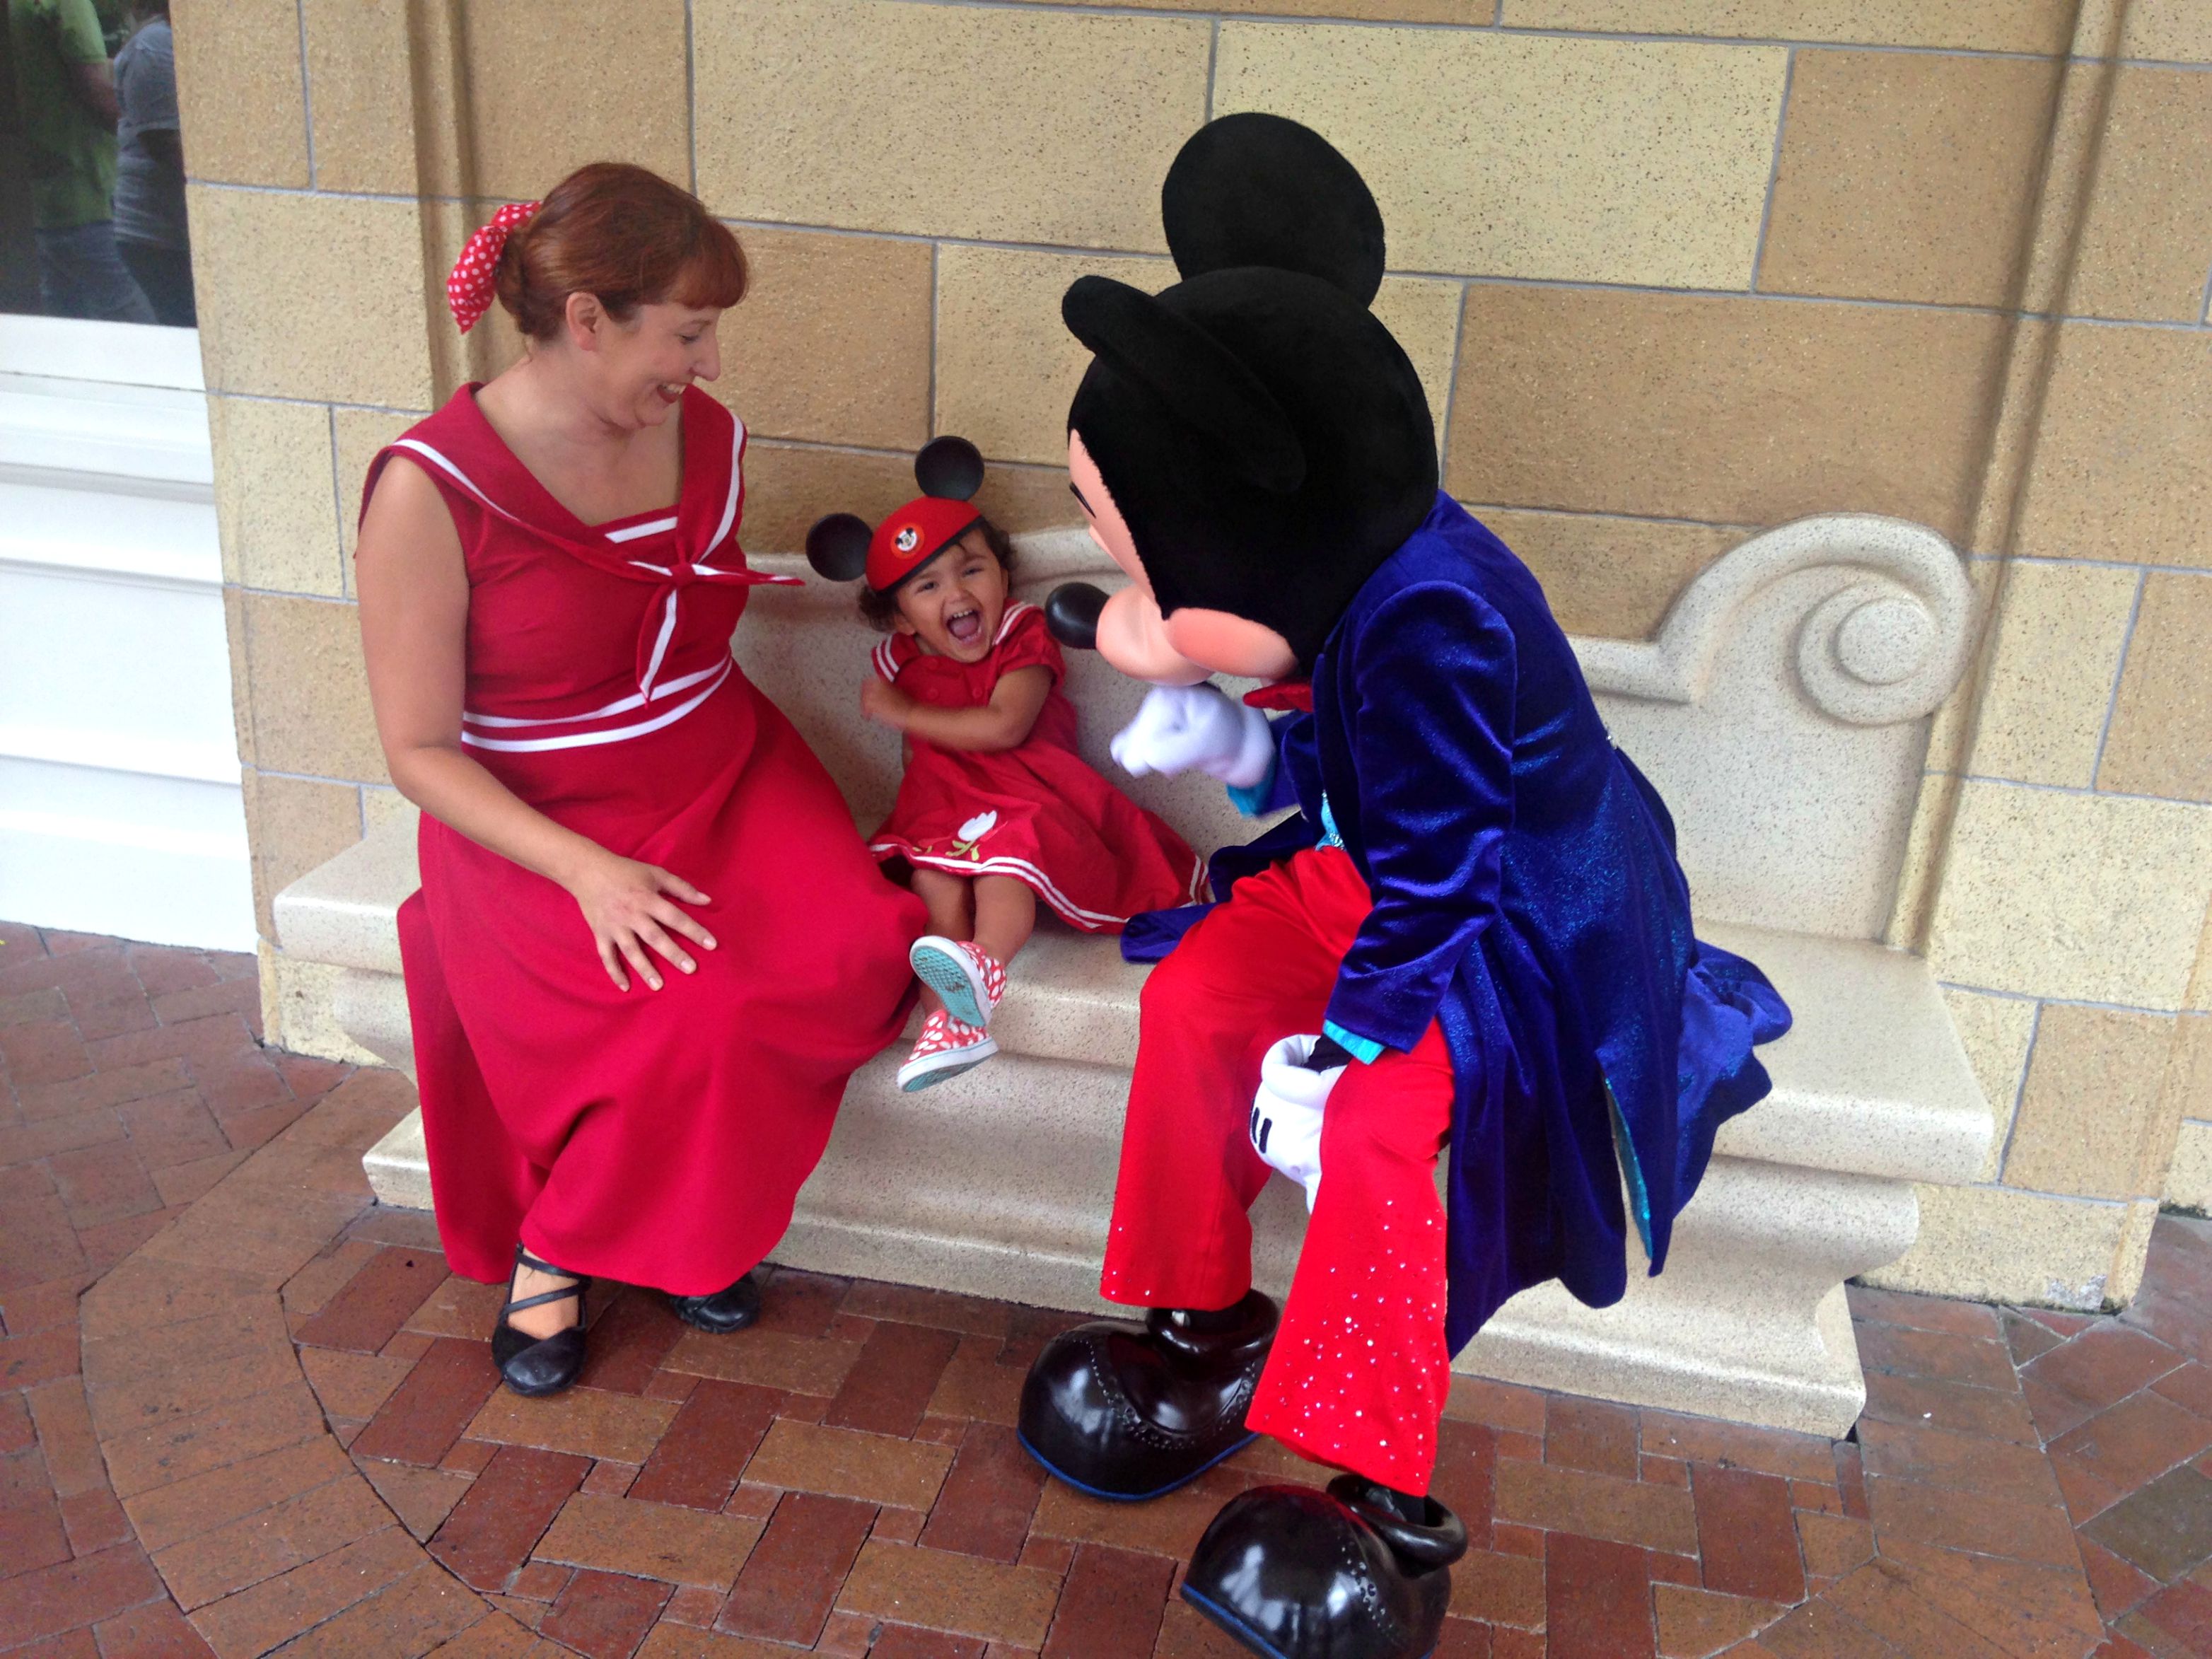
Arrive early. The gates open at 10:00 A.M. If you get in early you can have your picture taken with some of your favorite characters like Mickey and Minnie Mouse without waiting in long lines. We saw both Mickey and Minnie within a few minutes of waiting in line. Mickey even had time to play a few games like Peek a Boo with my daughter before sitting down for pictures.
2. Get your princess pictures at Fantasy Faire during the Frozen show “Anna and Elsa’s Royal Welcome“. The show started around 10:00 but check show times by clicking on the links above.There is usually a very small line during the show. We saw all the princesses Cinderella, Belle and Snow White right away. An employee that liked our matching outfits even had enough time to talk to us when we got out. After asking about our dresses a red Stop Staring!Sailor Dress and my daughter’s red, Gymboree, 2007, Sailor Dress I found at a consignment shop, she gave us re-boarding passes to get on the newly remodeled Peter Pan ride.
3. Go to Fantasy Land. Most of the rides in Fantasy Land are toddler friendly. When your little one gets hungry Pinocchio’s Village Haus has a toddler meal under $5.00. It includes Macaroni and Cheese, apple sauce and a Dasani water or apple juice. For around $13.00 you can get an adult sized meal that comes with fries and a drink. There was AC and an electrical outlet where I could charge my cell phone.
4. Lastly, don’t forget to go to Mickey’s Toon Town where Mickey Mouse has a house. In Toon Town you can go to Mickey Mouse’s house to take a picture, visit Minnie Mouse in a Tea Party setting and get pictures with Daisy and Donald Duck. There is also a playground area where your toddler can get there wiggles out after waiting in lines or sitting in a stroller.
These are just a few tips that helped us have a fun day at Disneyland. I am sure there are many other great tips to make your trip to Disneyland a smooth one. Feel free to share your tips and tricks in the comment section below.
Every party needs a little eye candy. Do It Yourself party decorations can be as sweet on the eyes as well as the wallet. In this third and final post for our series on how to have an affordable and fantastic Mickey and Minnie Mouse themed birthday party we will be sharing a few decorating ideas you can do yourself like balloon arches, a Minnie Mouse decorated toddler chair and personalized Minnie Mouse eared center pieces.
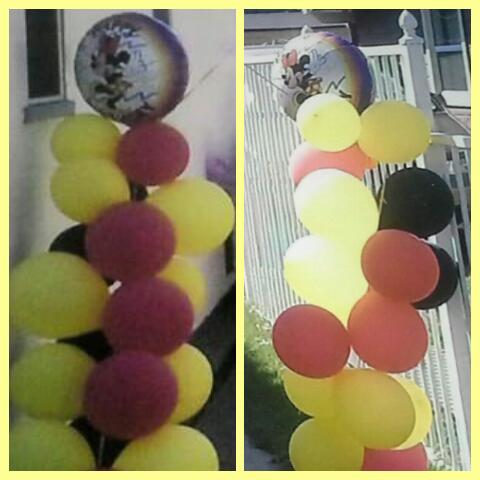
A fun and easy balloon arch can be accomplished with a few tools. I was able to make the one seen above by myself with the a little help from the 2 year old birthday girl (i.e., running around, laughing and diving at balloon pillars). It may not be perfection but with a the same tools and a little adult help you could surpass my balloon arch. Thankfully, my husband and father were able to help with the rest of the party set up (angels singing, thank God for family).
I also got a few ideas from watching this video from TNT Balloons Corp.
Step one you need to watch a few videos. I started out watching the video above with Sandi Masori. I definitely modified it to be more simple and to save time, but it gave me some of the foundational skills I needed to get started (e.g., learning how to make a balloon column).
Then I gathered my materials Balloon Time Helium Tank, balloons (red, yellow and black), Minnie Mouse Vintage Foil Mylar Balloons, Curling Ribbon, and two long sticks. I filled up balloons with helium and tied them around the sticks using the curling ribbon in a spiral pattern similar to the steps in the first video to create columns.
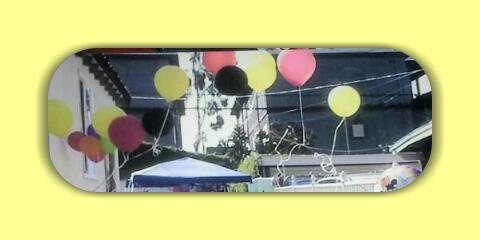
Next, I tied helium balloons to the top of the curling ribbon to create the arch. I got the idea for the arch with the balloons tied to the string from the Balloons TNT Corp. video. Doing this style of arch saved me time, money and balloons. This gave me more time to spend with family.
Another decoration that was easy to make was a Minnie Mouse themed chair for the birthday girl. The materials needed to create the chair seen above include a toddler sized chair, black Chalkboard Paint, White Liquid Chalk Pen, number 2 stencil, 4 small, black party plates, a polka dot bow and a glue gun.
First I used black chalkboard paint to paint a child sized chair I found at a yard sale. I then used a hot glue gun to glue two small black paper plates to the front of the chair and two small plates to the back to look like Minnie Mouse ears. Then I glued a big red bow with polka dots in the middle of the ears.
To write the number two on the chair I used a number two stencil, taped it to the chair and colored it in with white chalkboard pen. Then I removed the stencil and wrote my daughter’s name under the number 2 to add a personal touch. I also decorated a second chair for a friend with just the ears and added a red tutu, table skirt around the toddler table.
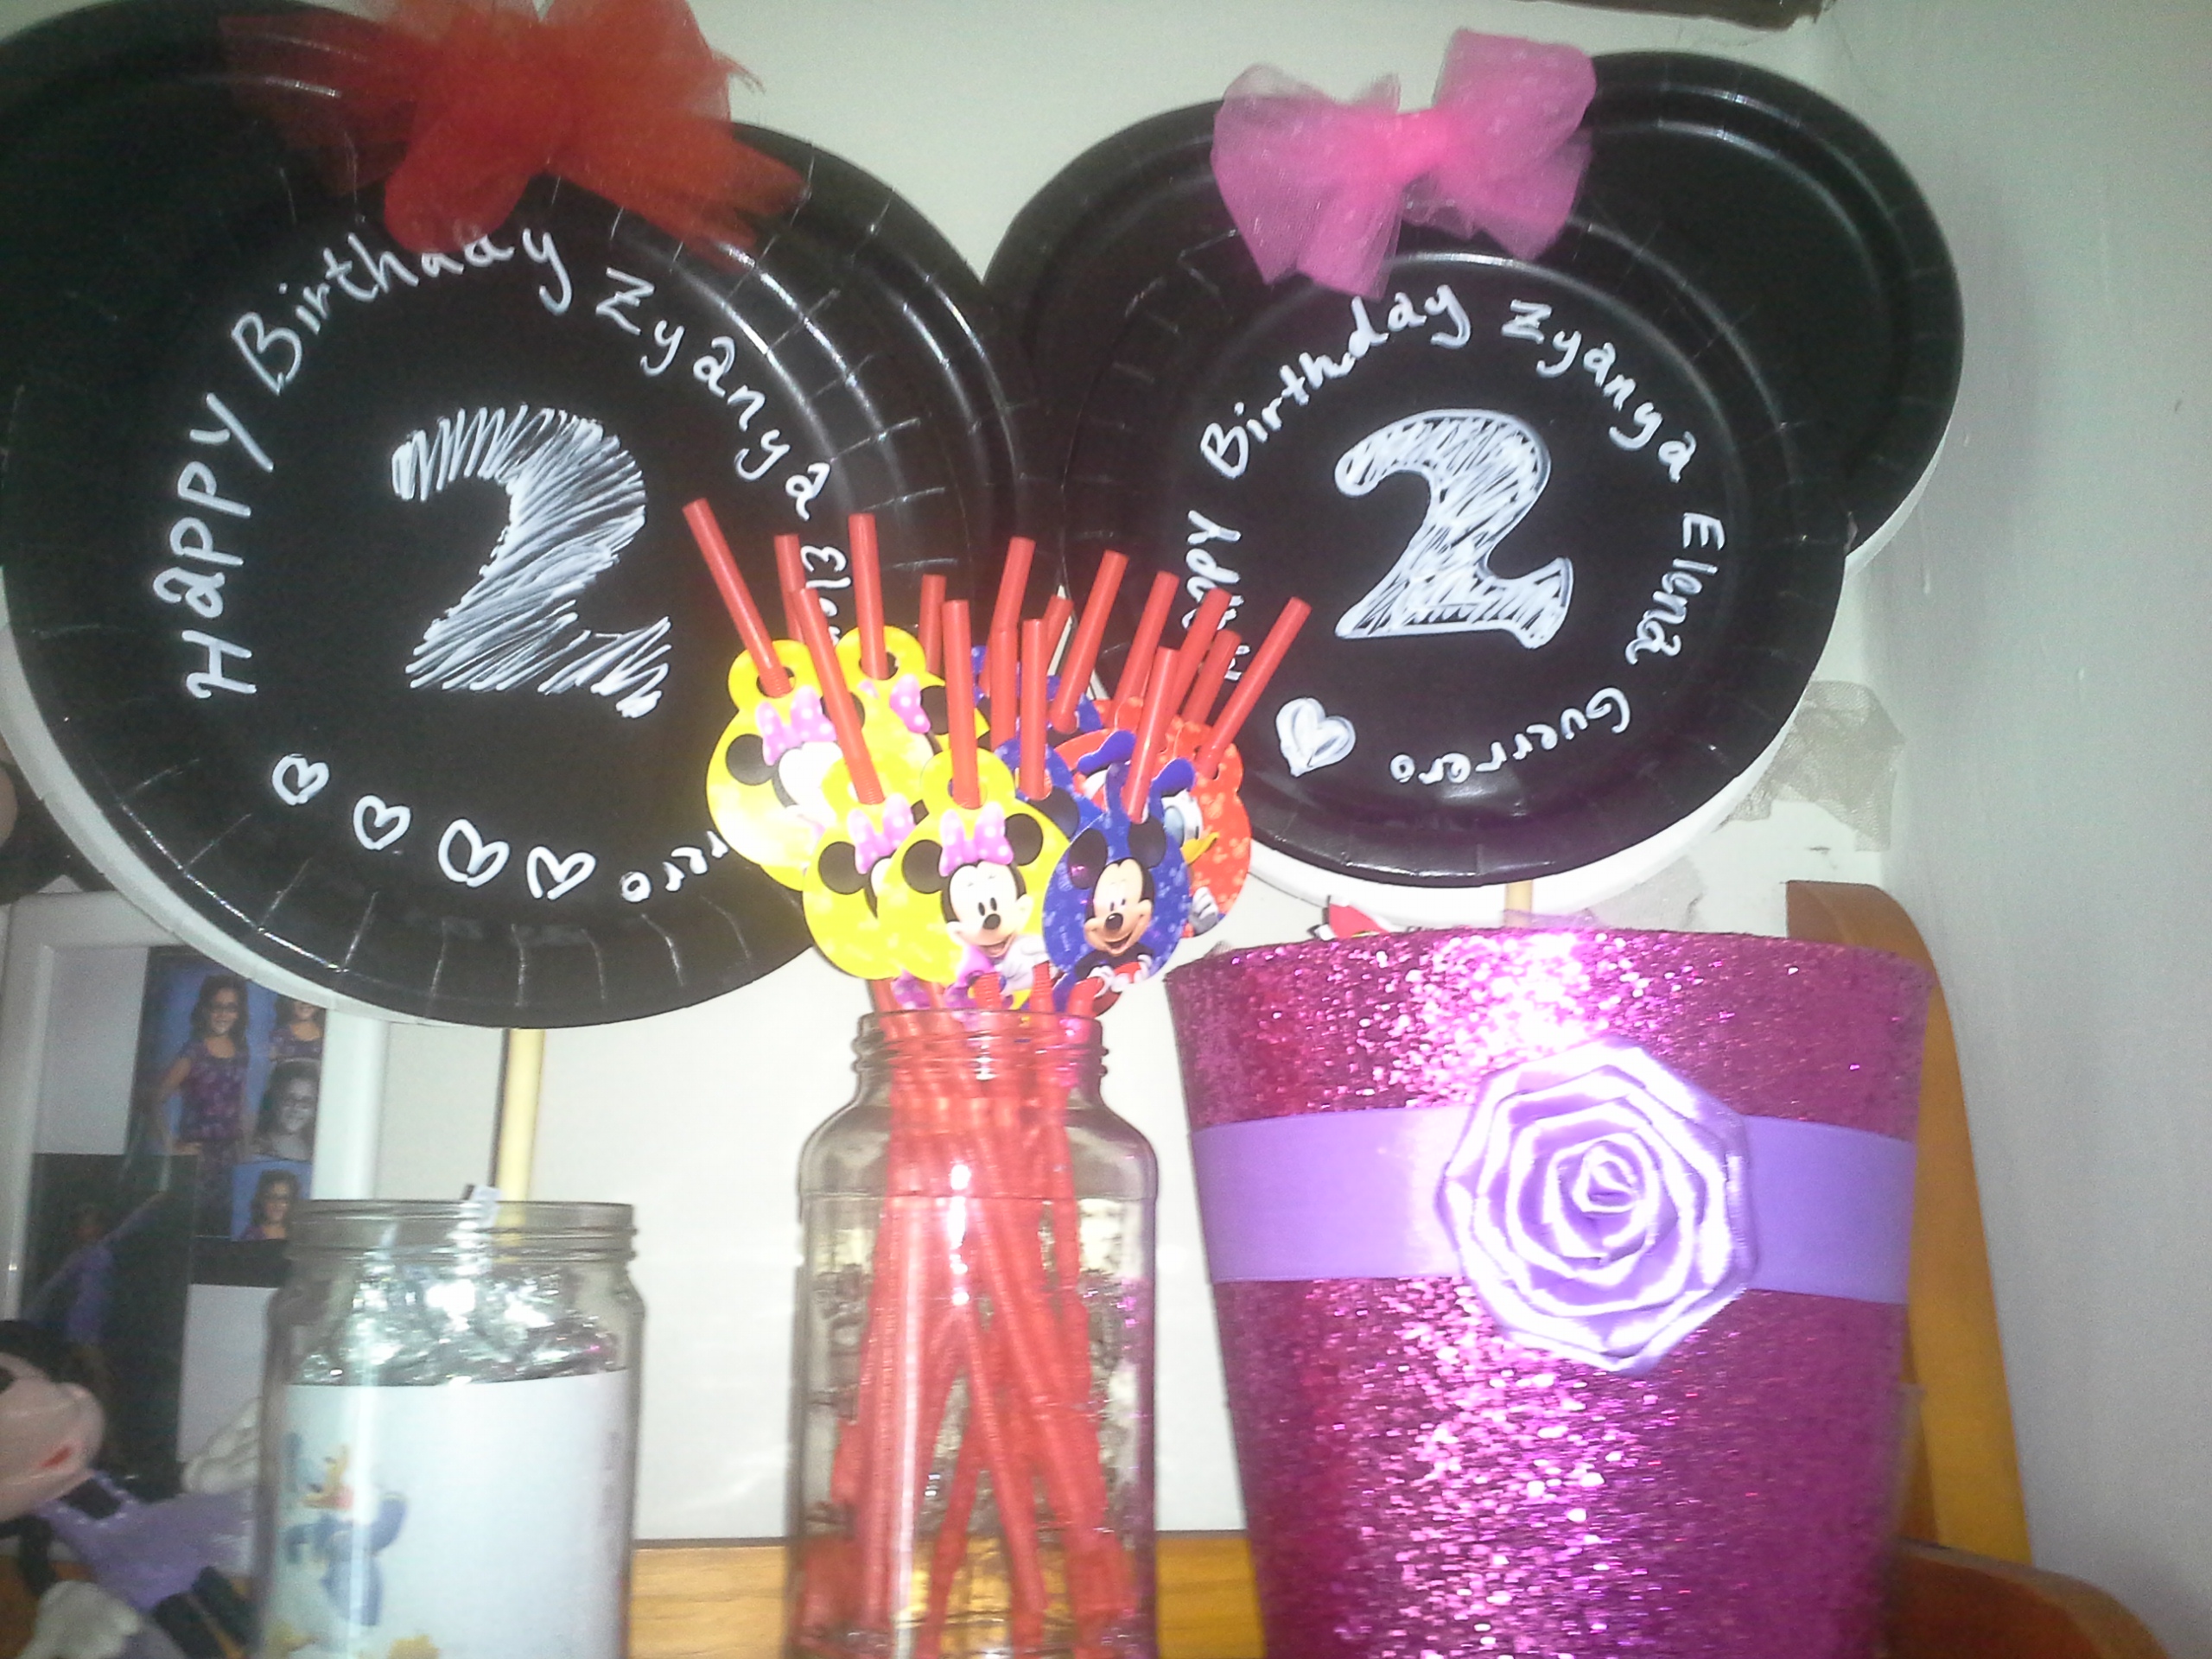
Now, let’s move on to centerpieces. The materials needed to make the centerpieces seen above include; large black paper plates, small black paper glue gun, number two stencil, white chalkboard pen, tulle, floral arrangement foam, sticks, mason jars, Mickey Mouse print outs and candy or decorative rocks.
First, I lined the mason jars with paper print outs of Mickey and his friends. You can find the printouts at family.disney.com. The print out I used are cup cake toppers, but they also work to line the mason jars. You can find many other helpful party print outs at the site including printable party invitations.
Then I used a hot glue gun to glue 2 large, black paper plates together with a stick in-between. I cut a small, black paper plate in half, glued it together, and repeated to make ears. I then glued the ears towards the top of the larger plate’s in-between the plates to make Minnie’s ears. To create a big bow I tied a strip of tulle together into a bow. I glued the bow in-between the ears. Then I used the #2 stencil to color the number 2 on the face of the plate. To personalize it more I wrote my daughter’s full name around the plate.
After, making the Minnie Mouse head it was time to place it into the jar. Inside the jar I put some floral Foam
and poked the stick with the Minnie Mouse head through. To make it more secure I filled the jar with hard candy and chocolate kisses. You could also use decorative rocks or gumballs. I then repeated this process five times to ensure there would be a enough centerpieces for each table at the party. I also, used a pink glitter bucket instead of a mason jar for the snack table centerpiece. I found the glitzy container on a Valentine’s Day clearance rack at a local market for 75% off. Repurposing items is another DIY way to save money for a spa day ( i.e., my toddler rubbing squeezable yogurt on my face as she points to my eyes, ears and nose).
The balloon arch, Minnie Mouse decorated toddler chair and personalized centerpieces were just a few of the do it yourself decorations at the party to provide aesthetic enjoyment. We also had vintage lunch boxes, Disney action figures, character table clothes, classic Minnie Mouse posters and a few tulle table skirts. For more ideas check out my pinterest board and please share your favorite do it yourself decorating ideas in the comments below.
During my daughter’s second birthday that had a Mickey and Minnie Mouse theme we had fun games and activities for children of all ages. The activities included traditional party games like a Pinata and more DIY (Do it Yourself) creative activities like Mouseka Paint. For resources on how to make or purchase the activities for an economical price click on the links in the article.
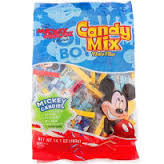
A more traditional game we had was a Hallmark – Mickey’s Clubhouse Pull String Pinata. This more modern and safer version of the pinata was a pull string pinata. Instead of hitting it with a bat you pull a strings at the bottom. A random string will release all the candy. This is a Hallmark brand pinata that is available on Amazon for $17.93. You can also get Disney’s Mickey Mouse & Friends “Candy Mix/Pinata Filler”
.
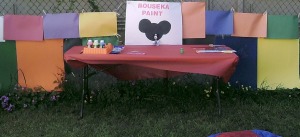
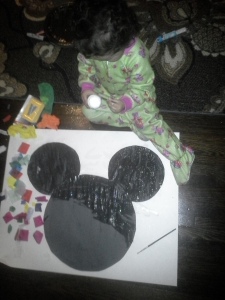
A more creative activity we had at the party was a painting station called Mouseka Paint. To set it up we used clothespins to hang up poster board and large, colorful pieces of construction paper. In the middle of the colorful collage of paper was a homemade sign with a silhouette of Mickey that said Mouseka Paint.
On top of a rectangular party table we put the art supplies. The art supplies included Crayola Washable Sidewalk Neon Paint Tray , 9 piece kit, paint rollers, paint brushes and even circle shaped sponges that could be used to make Mickey Mouse’s head and ears. This was a great activity that my two year old enjoyed as well as some of her older pre-teen cousins.
My daughter’s favorite activity was the bounce house. Instead of renting one, we spent a little bit more and bought a bounce house. We picked the Blast Zone Magic Castle Inflatable Bouncer It holds up to 300 pounds, comes with a blower and is really easy to set up. It is also small enough to fit in our living room making it a good way to get exercise on a rainy day.
A fun game that is a Minnie Mouse themed version of the classic game Pin the Tail on the Donkey is Pin the Bow on Minnie. My daughter and I had a good time making it together. We took a piece of poster board and glued a silhouette of Minnie’s head by tracing a large paper plate onto black construction paper for her head. We then traced and cut ears by using smaller paper plates to trace. We decorated it by painting a mixture of glitter, glue and water over colorful tissue paper squares.
To make the bows we printed out some pink and blue polka dot bow print outs from disneyjunior.com. Just click on the link and it will take you to the bows you can print out. We also used a blindfold and spinned older children around to make it more challenging.
Lastly, an activity that captured the attention of even the youngest party goers was bubbles. There was a Bubble Blitz Bubble Blowout Party Machine and bubbles at all of the tables. Guests took part in the fun by blowing bubbles, popping and dancing in the bubbles. The bubble machine was strong enough to blow a good amount of bubbles during the whole party and the next day. We also had Minnie Mouse Music to help keep things lively. Feel free to share your favorite party game and follow Tulle and the Dragon so, you don’t miss out on the next blog in the series about Mickey and Minnie Mouse party decorations.

 2. Get your princess pictures at Fantasy Faire during the Frozen show “Anna and Elsa’s Royal Welcome“. The show started around 10:00 but check show times by clicking on the links above.There is usually a very small line during the show. We saw all the princesses Cinderella, Belle and Snow White right away. An employee that liked our matching outfits even had enough time to talk to us when we got out. After asking about our dresses a red Stop Staring! Sailor Dress and my daughter’s red, Gymboree, 2007, Sailor Dress I found at a consignment shop, she gave us re-boarding passes to get on the newly remodeled Peter Pan ride.
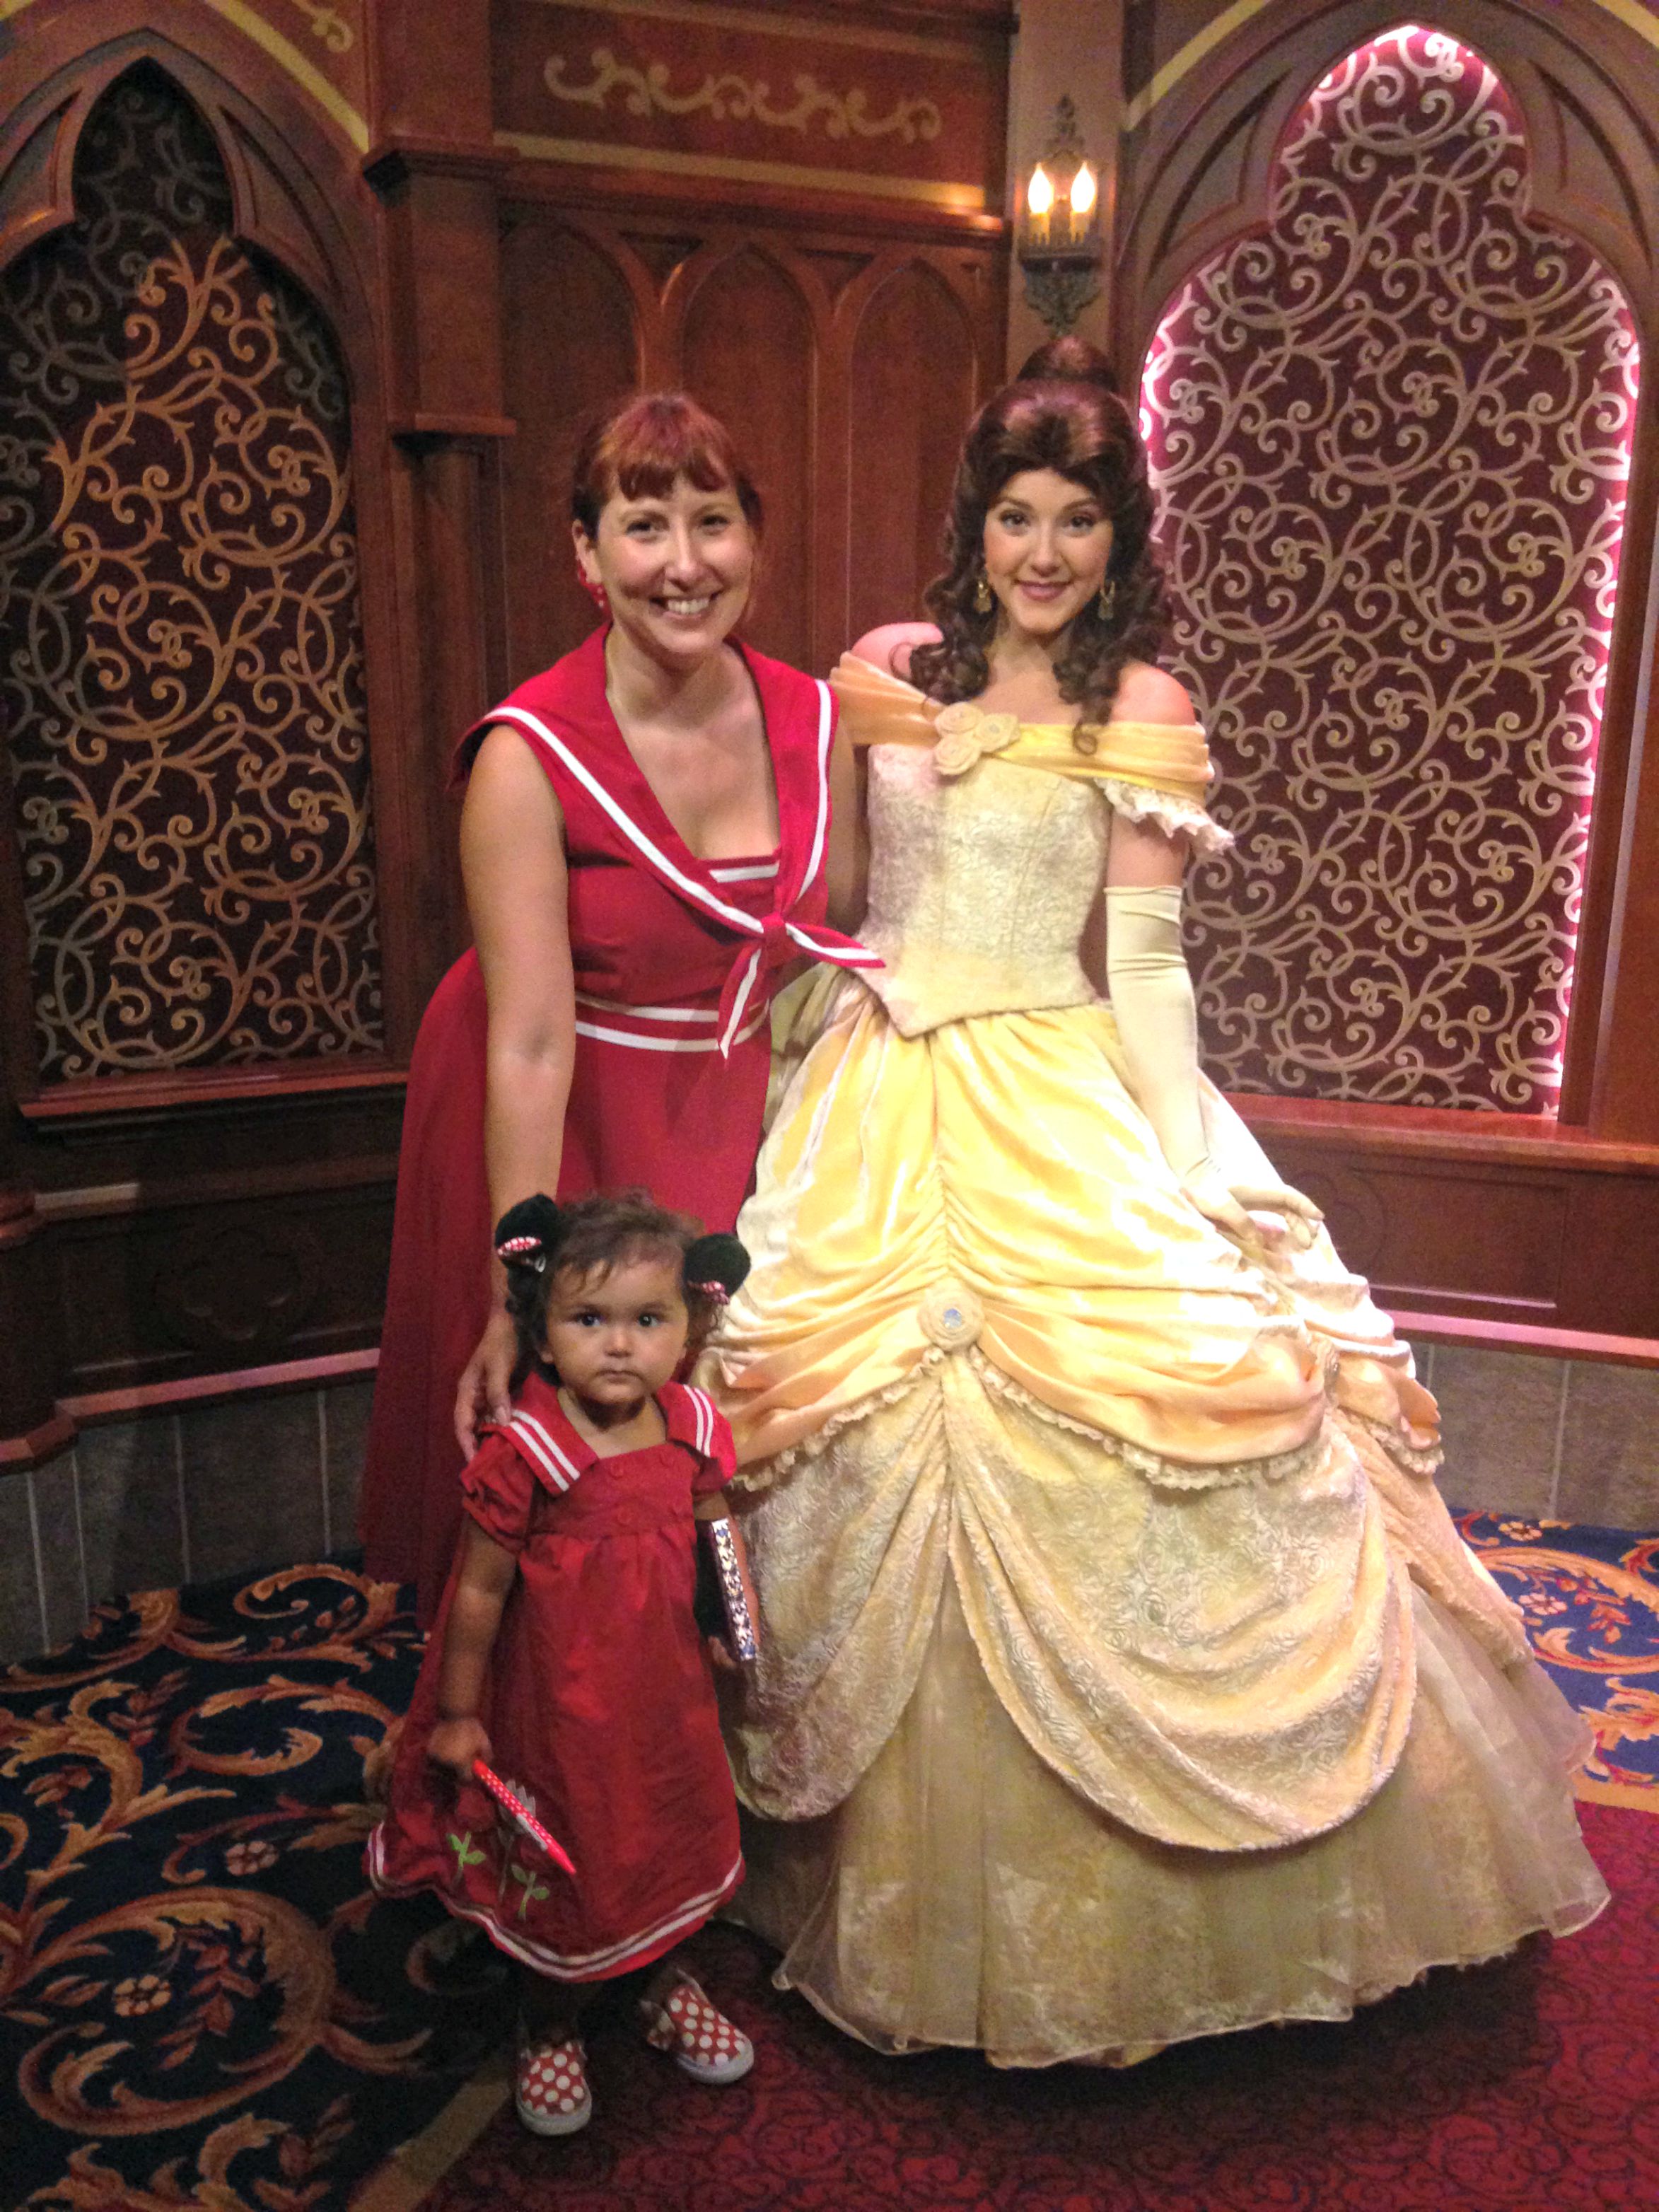 3. Go to Fantasy Land. Most of the rides in Fantasy Land are toddler friendly. When your little one gets hungry Pinocchio’s Village Haus has a toddler meal under $5.00. It includes Macaroni and Cheese, apple sauce and a Dasani water or apple juice. For around $13.00 you can get an adult sized meal that comes with fries and a drink. There was AC and an electrical outlet where I could charge my cell phone.
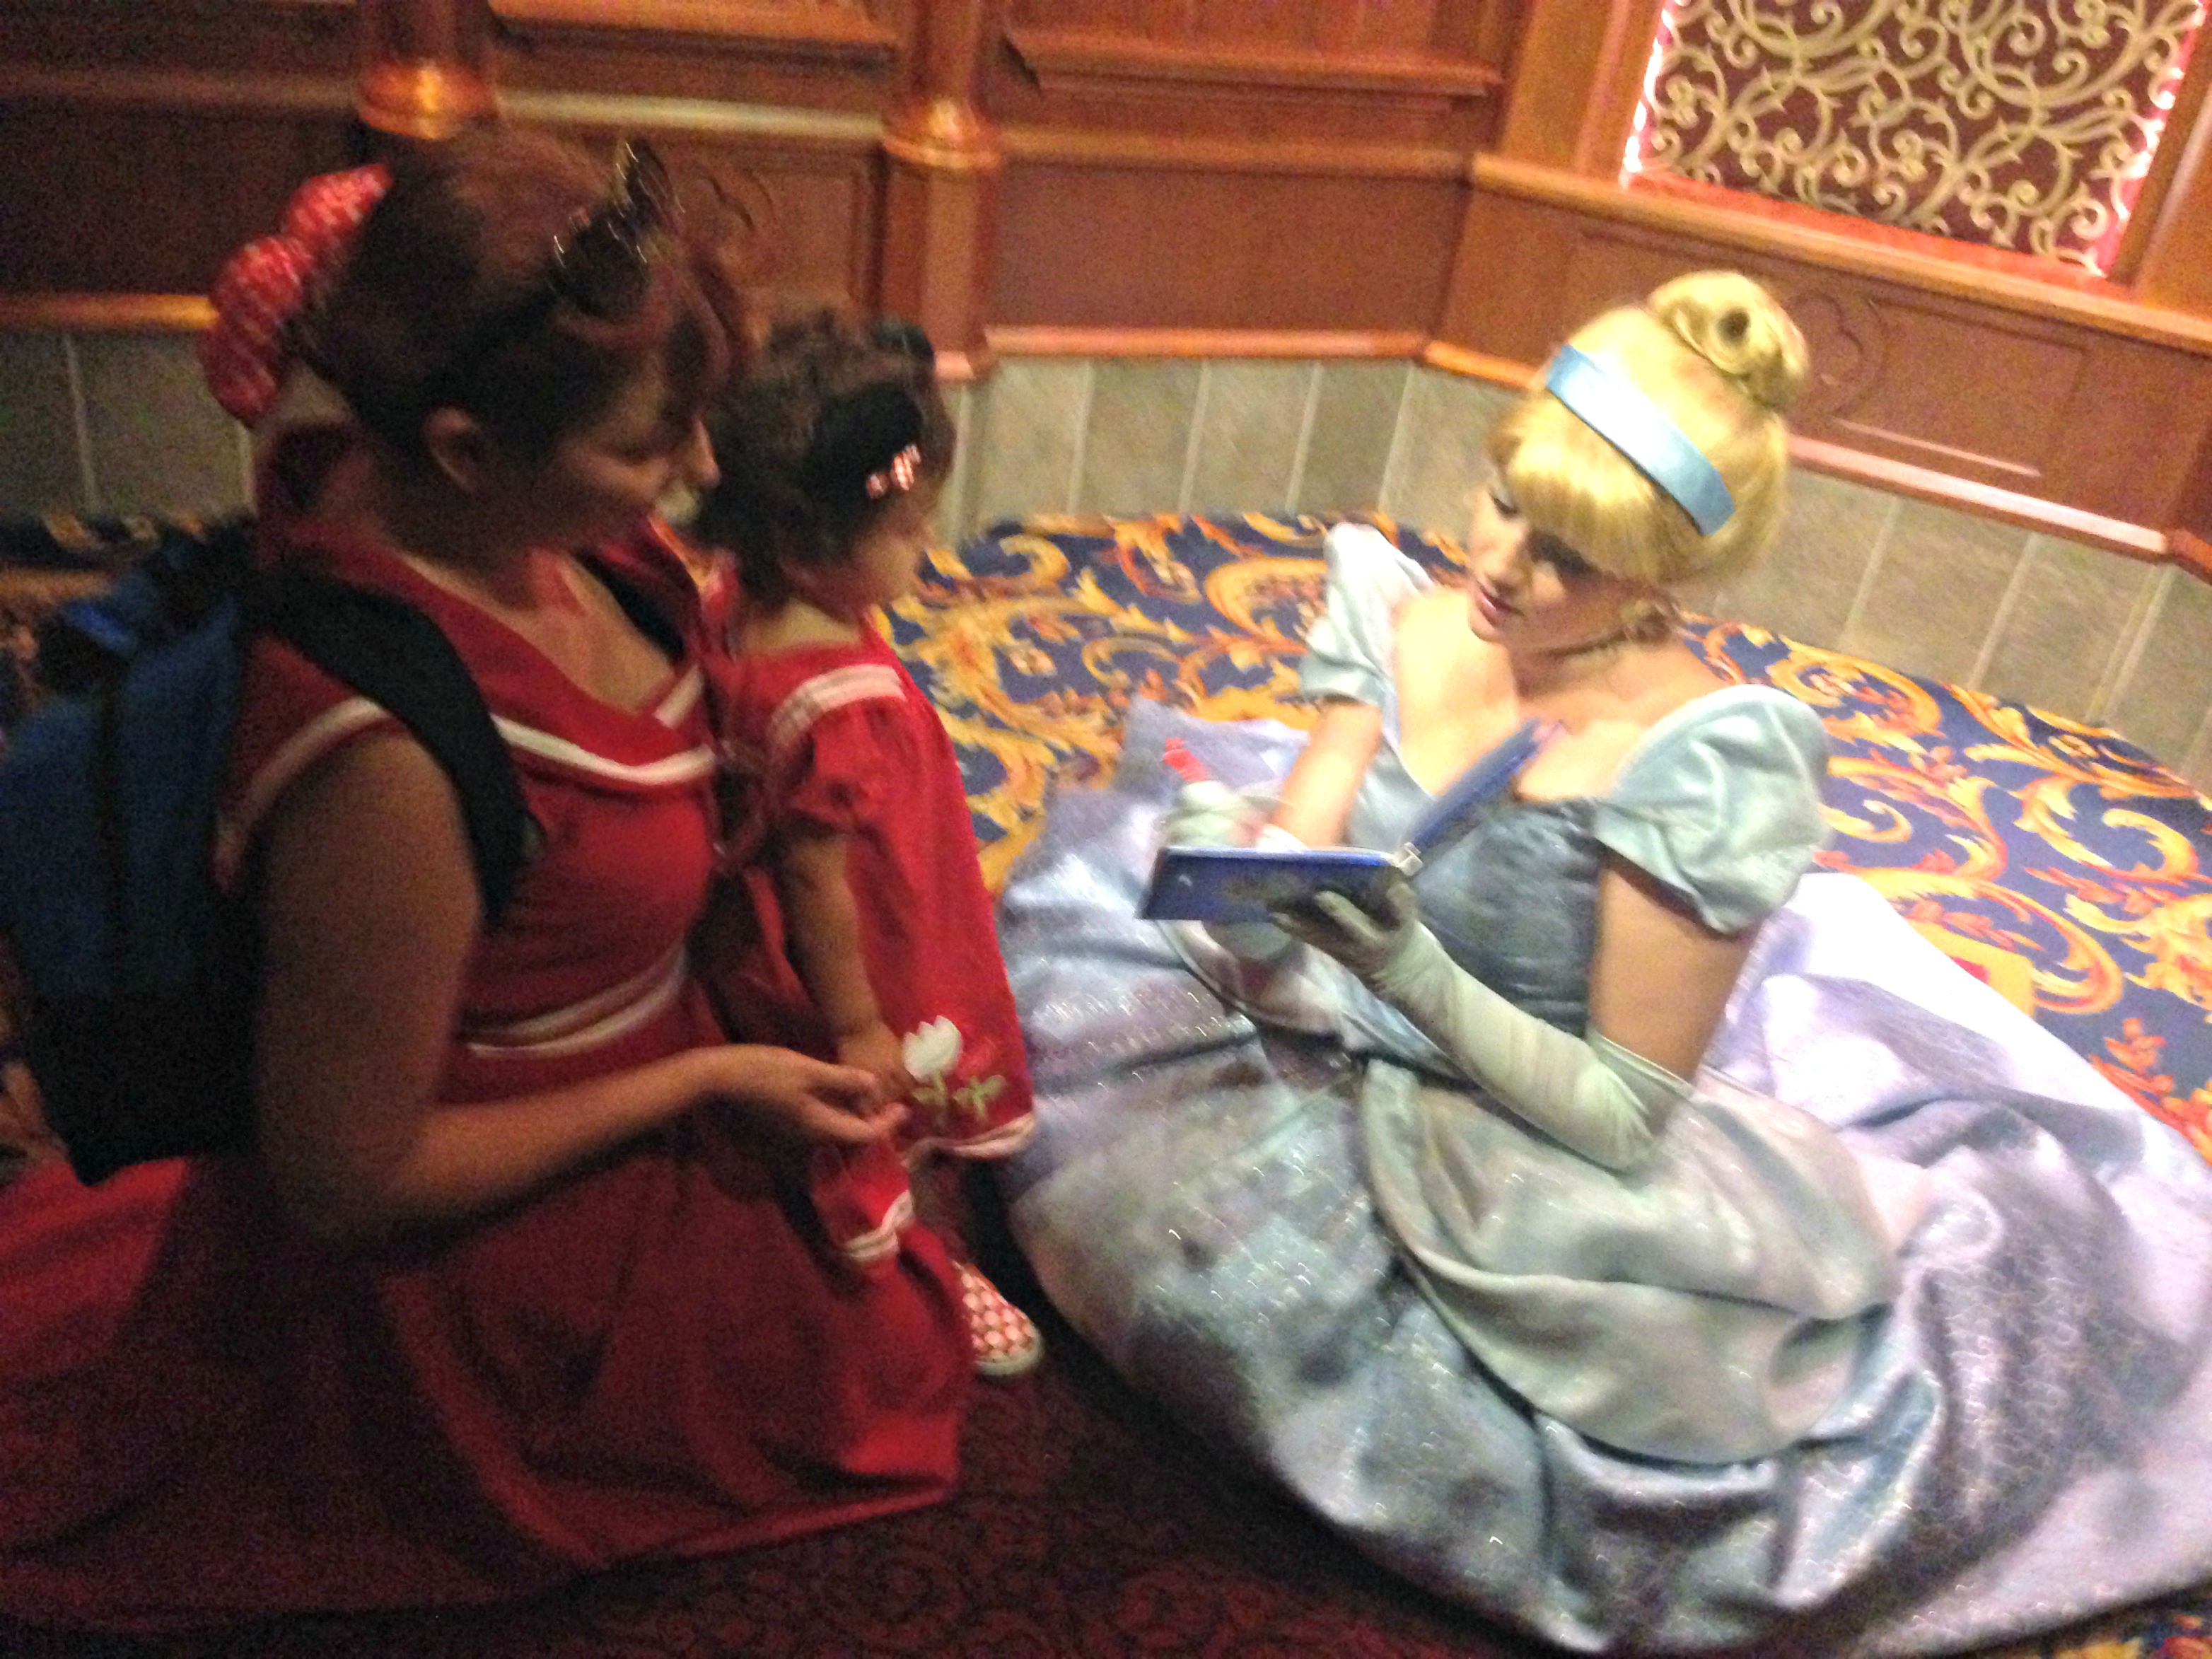 4. Lastly, don’t forget to go to Mickey’s Toon Town where Mickey Mouse has a house. In Toon Town you can go to Mickey Mouse’s house to take a picture, visit Minnie Mouse in a Tea Party setting and get pictures with Daisy and Donald Duck. There is also a playground area where your toddler can get there wiggles out after waiting in lines or sitting in a stroller.